Pizza Dough Recipe: Soft, Chewy Crust with Crispy Edges
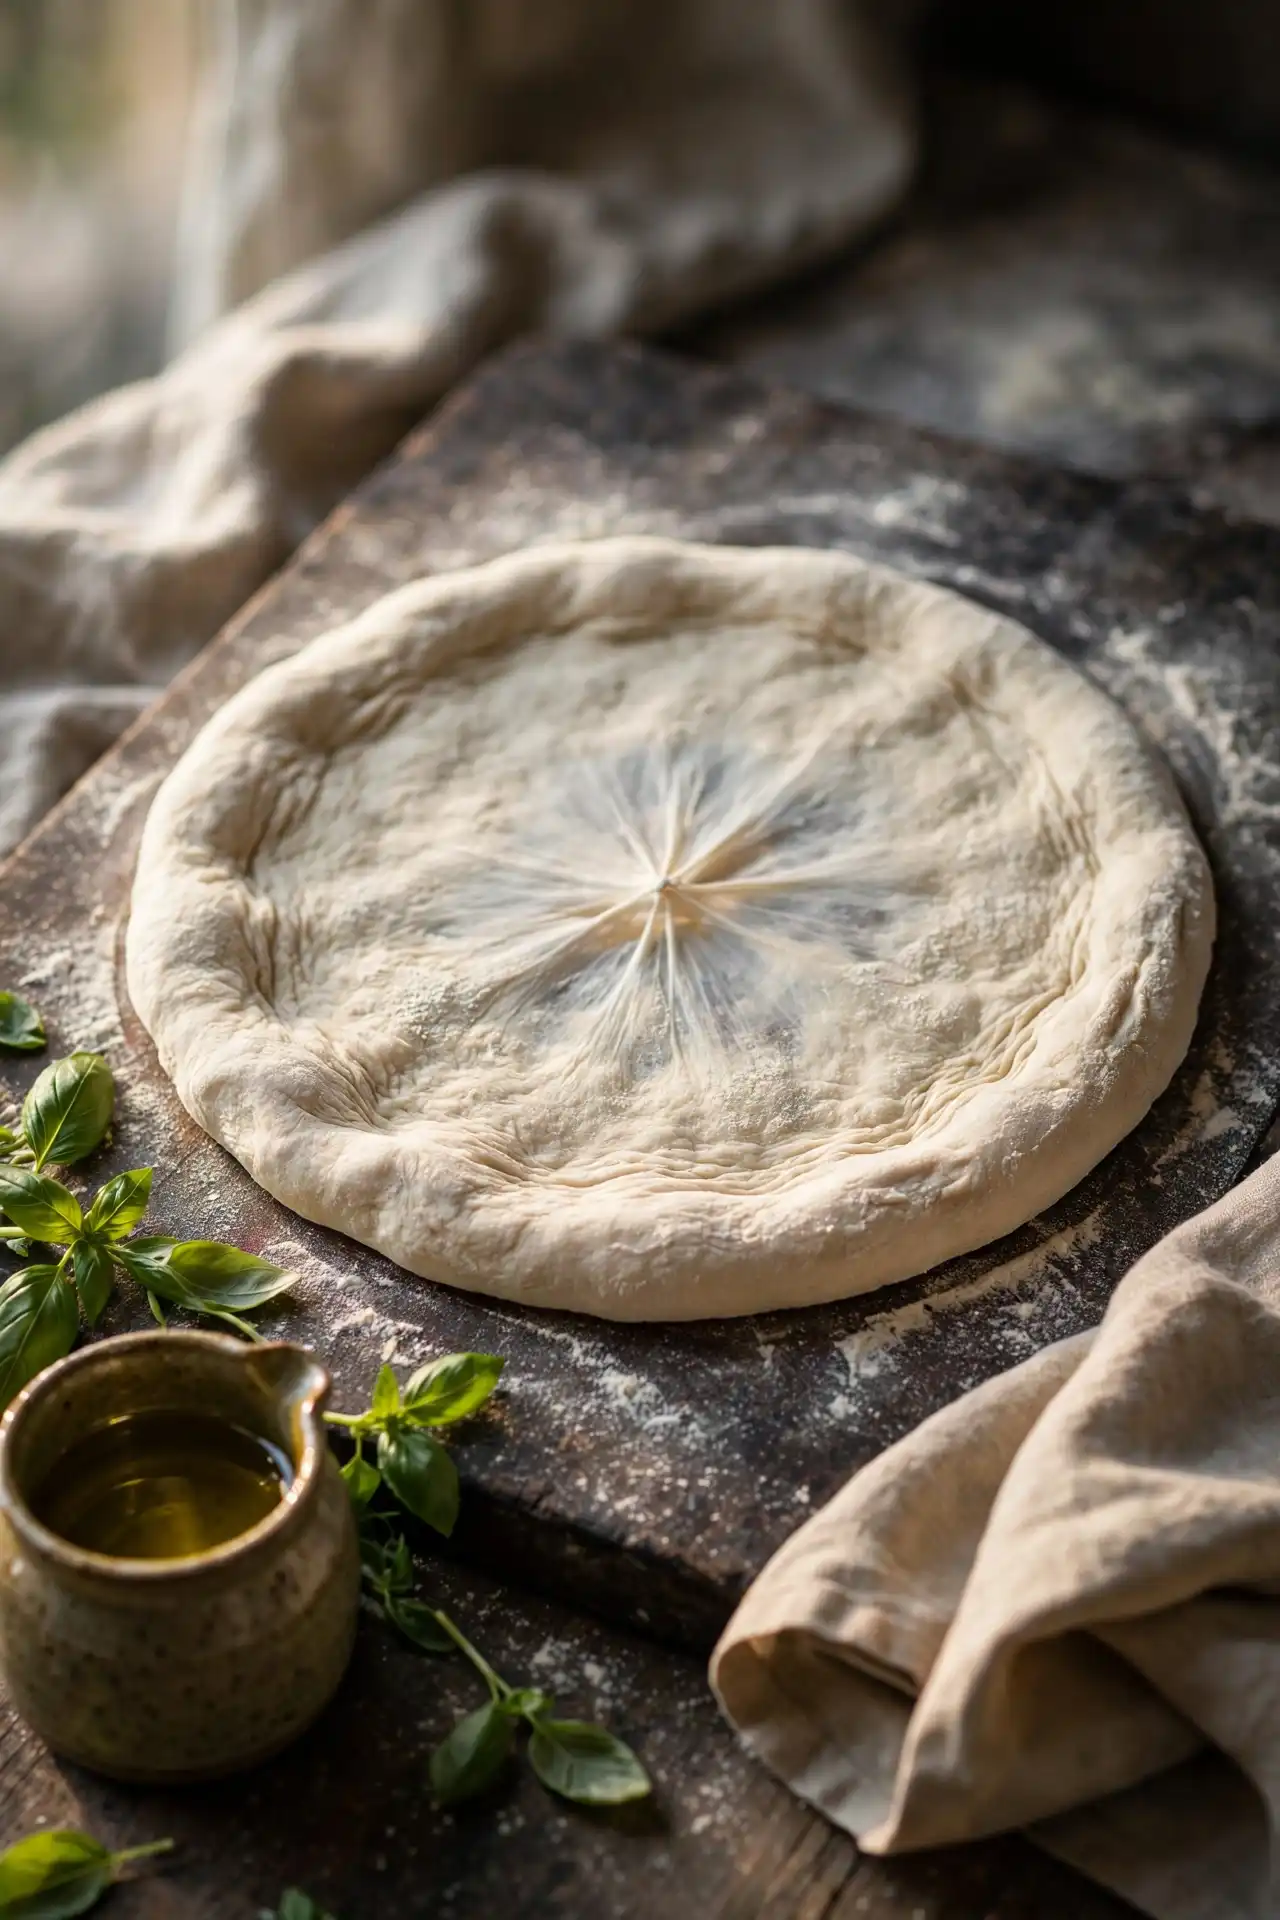
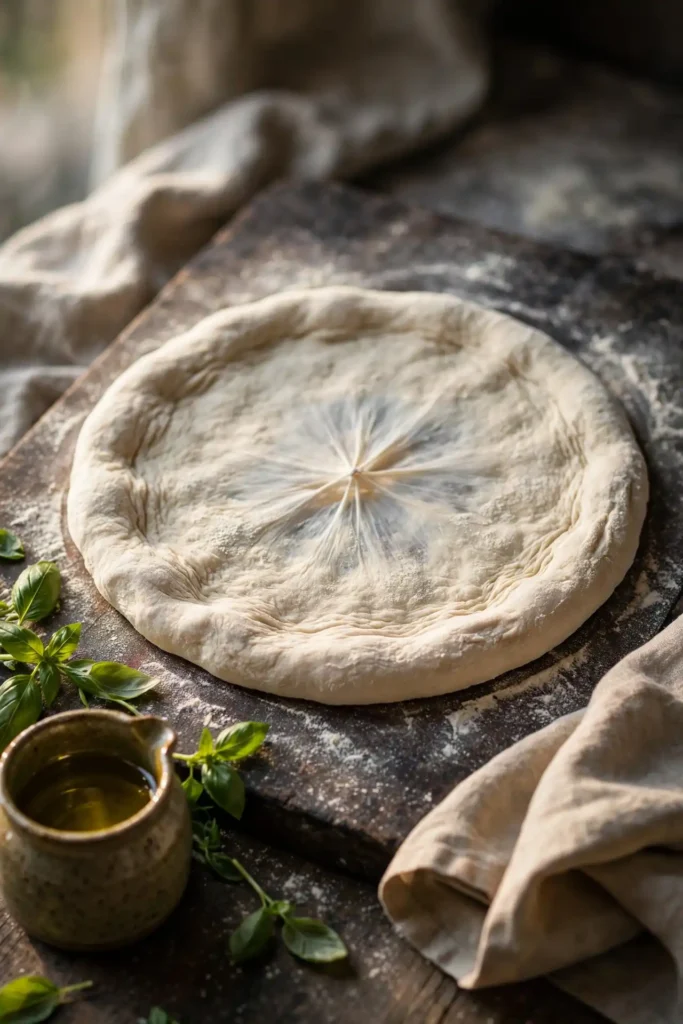
The crust is what separates a pizza you eat from one you actually remember. This pizza dough recipe uses six ingredients, takes about 15 minutes of hands-on work, and produces a dough that stretches cleanly, bakes up chewy in the middle, and crisps at the edges without going hard. No stand mixer required, no specialty flour, and no experience necessary.
It works equally well on a regular baking sheet, a cast iron pan, or a pizza stone. Whether you bake it the same day or cold-ferment it overnight, the result is a crust that holds up under toppings and actually tastes like something.
Why You’ll Love This Pizza Dough Recipe
- Bread flour’s higher protein content (12 to 14%) builds stronger gluten networks during kneading, giving the crust a distinctive chew that all-purpose flour can’t match
- No stand mixer needed: 8 to 10 minutes of hand kneading builds the same structure
- Works same-day with a 60-minute rise, or refrigerate overnight for noticeably deeper flavor — the best part of having a go-to pizza dough recipe is how well it adapts to your schedule
- Makes two medium pizzas, so you can freeze one portion for next week with no extra effort
- The dough stretches without springing back once it has rested properly — no fighting the dough mid-prep
Ingredients You’ll Need
Six ingredients are all this pizza dough recipe calls for.
For the Dough
- 3 cups (360g) bread flour, plus extra for kneading — the higher protein content creates more gluten, giving the crust its chew and structural hold under toppings
- 1 tsp (3g) instant yeast — activates directly in the dough without proofing; if using active dry yeast instead, dissolve it in the warm water with the sugar for 5 to 10 minutes until foamy before combining with the flour
- 1 tsp (6g) fine salt — added to the flour rather than directly to the yeast; direct salt-yeast contact before dilution can draw moisture from the yeast and slow fermentation
- 1 tsp (5g) granulated sugar — feeds the yeast during the rise and helps the crust brown evenly in the oven
- 1 tbsp (15ml) extra-virgin olive oil — a small amount of fat softens the gluten slightly, making the dough easier to stretch and giving the crust a tender bite at the edges
- 1 cup (240ml) warm water — target 38 to 43°C (100 to 110°F); below that range the yeast stays dormant, above 49°C (120°F) it dies
Recipe Timing
| Timing Element | Duration |
|---|---|
| Prep Time | 15 minutes |
| Cook Time | 12 minutes |
| Rise Time | 60 minutes |
| Total Time | 1 hour 27 minutes |
Servings: 2 medium pizzas (4 servings) | Difficulty: Easy | Cuisine: Italian | Course: Main

How to Make Pizza Dough: Step by Step
Read through all seven steps once before you start. This pizza dough recipe has no complicated techniques, but a few moments — water temperature, kneading time, pre-stretch rest — are worth paying attention to.
Step 1: Combine water, sugar, and yeast
Add the warm water and sugar to a large mixing bowl. Stir in the instant yeast and let the mixture sit for 5 minutes. With instant yeast, you won’t see significant foaming — that’s expected. If using active dry yeast, wait until the surface is visibly foamy before continuing.
Why this works: Mixing yeast with liquid first distributes it evenly before the flour goes in, preventing dry pockets of undissolved yeast in the finished dough.
⚠️ Food Safety: Check water temperature with a thermometer before adding the yeast. Water above 49°C (120°F) kills yeast completely — the dough will not rise regardless of how long you wait.
Step 2: Add flour and mix
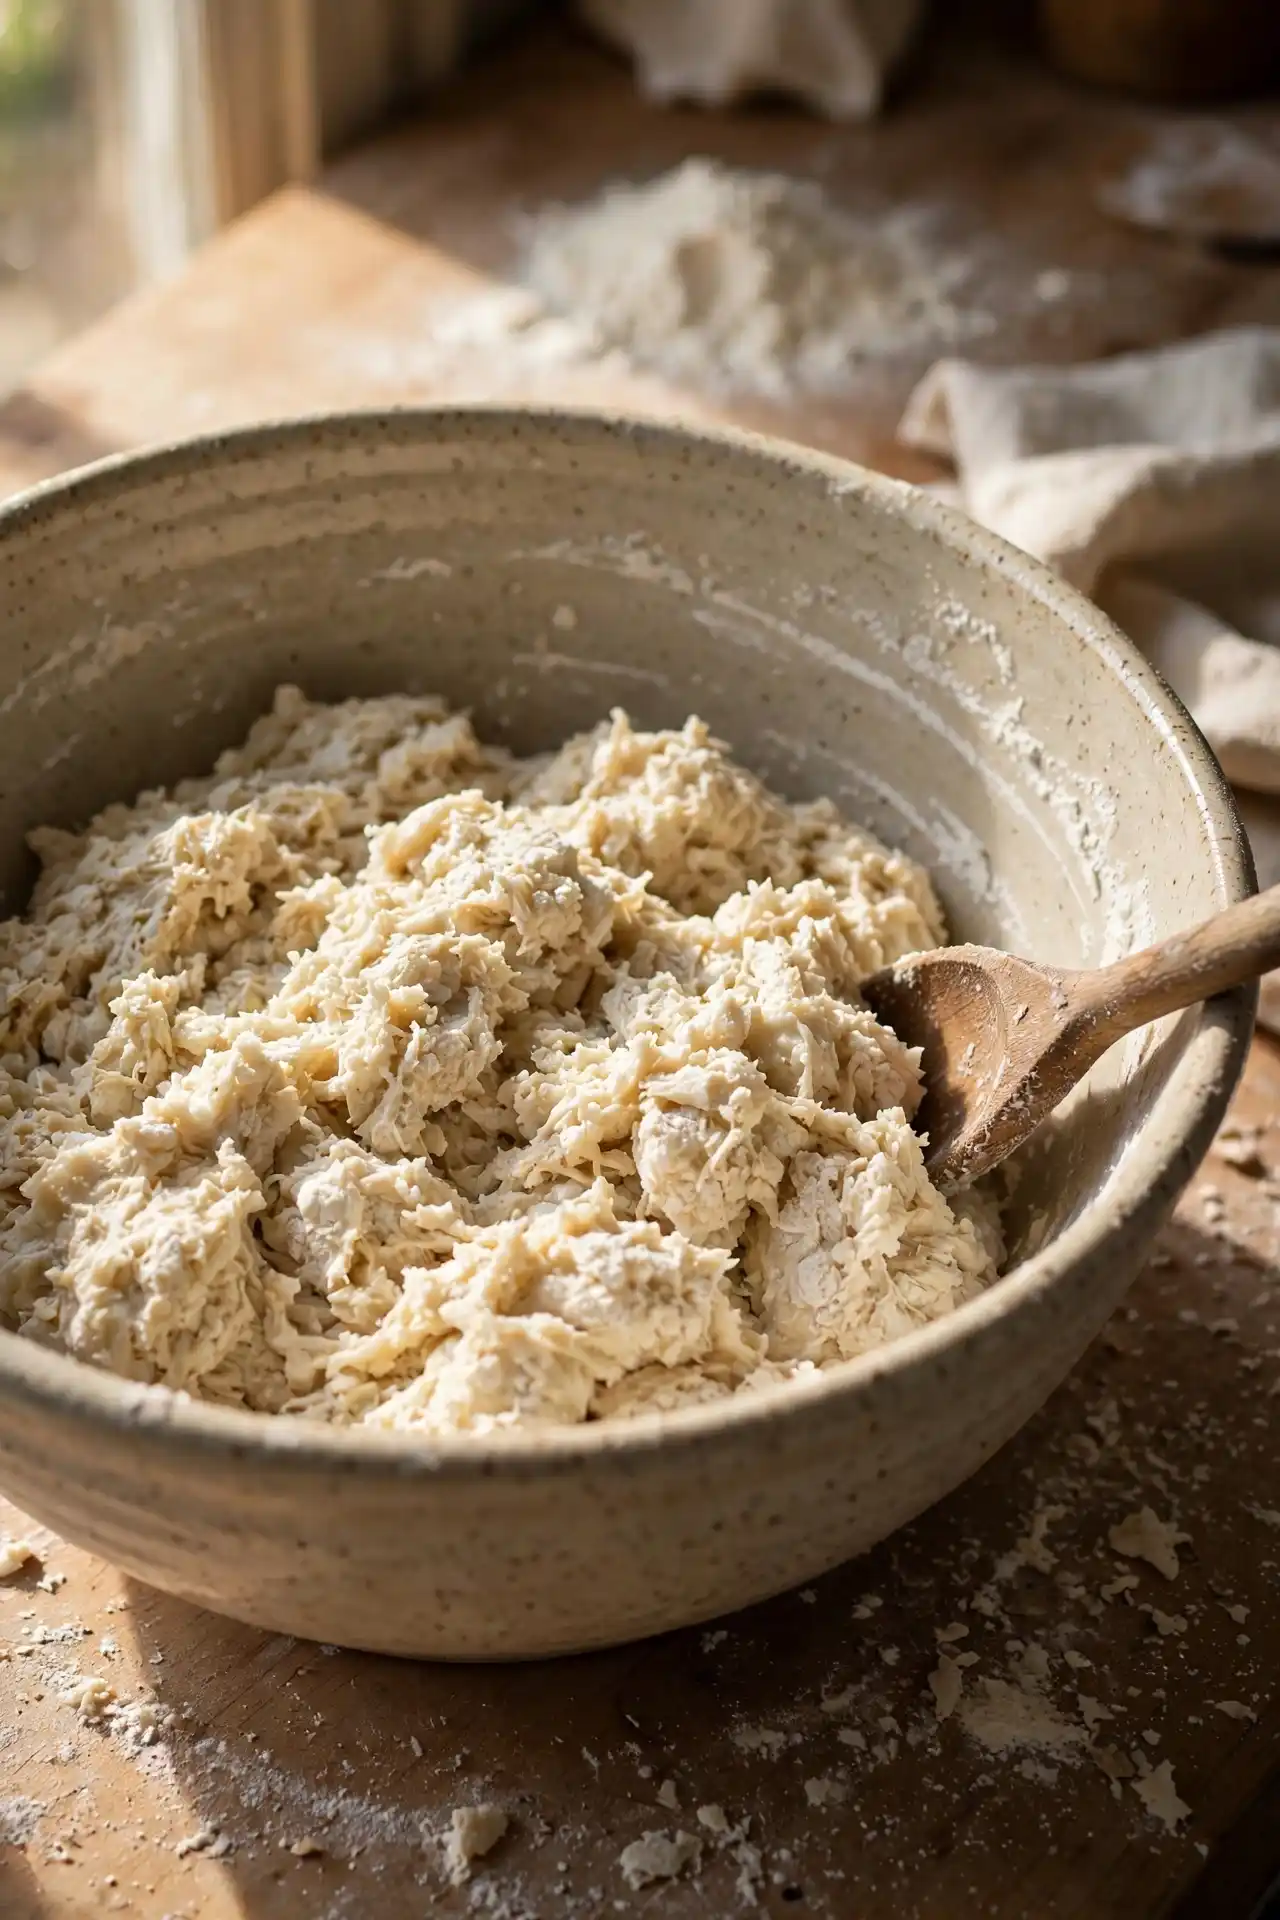
Add the bread flour, salt, and olive oil to the bowl. Stir with a fork or wooden spoon until a rough, shaggy dough forms and almost no dry flour remains. The dough will look messy at this point — that’s normal.
Step 3: Knead the dough
Turn the dough out onto a lightly floured surface. Knead for 8 to 10 minutes: push the dough away from you with the heel of your hand, fold it back toward you, rotate a quarter turn, and repeat. This is the stage where the pizza dough recipe builds its structure. The dough is ready when the surface is smooth and elastic, it no longer sticks to your hands, and when you poke it gently it springs back within 5 seconds.
Why this works: Kneading develops the gluten network that gives the crust its chew and structure. Under-kneaded dough tears when stretched and produces a dense, crumbly crust after baking.
Step 4: First rise
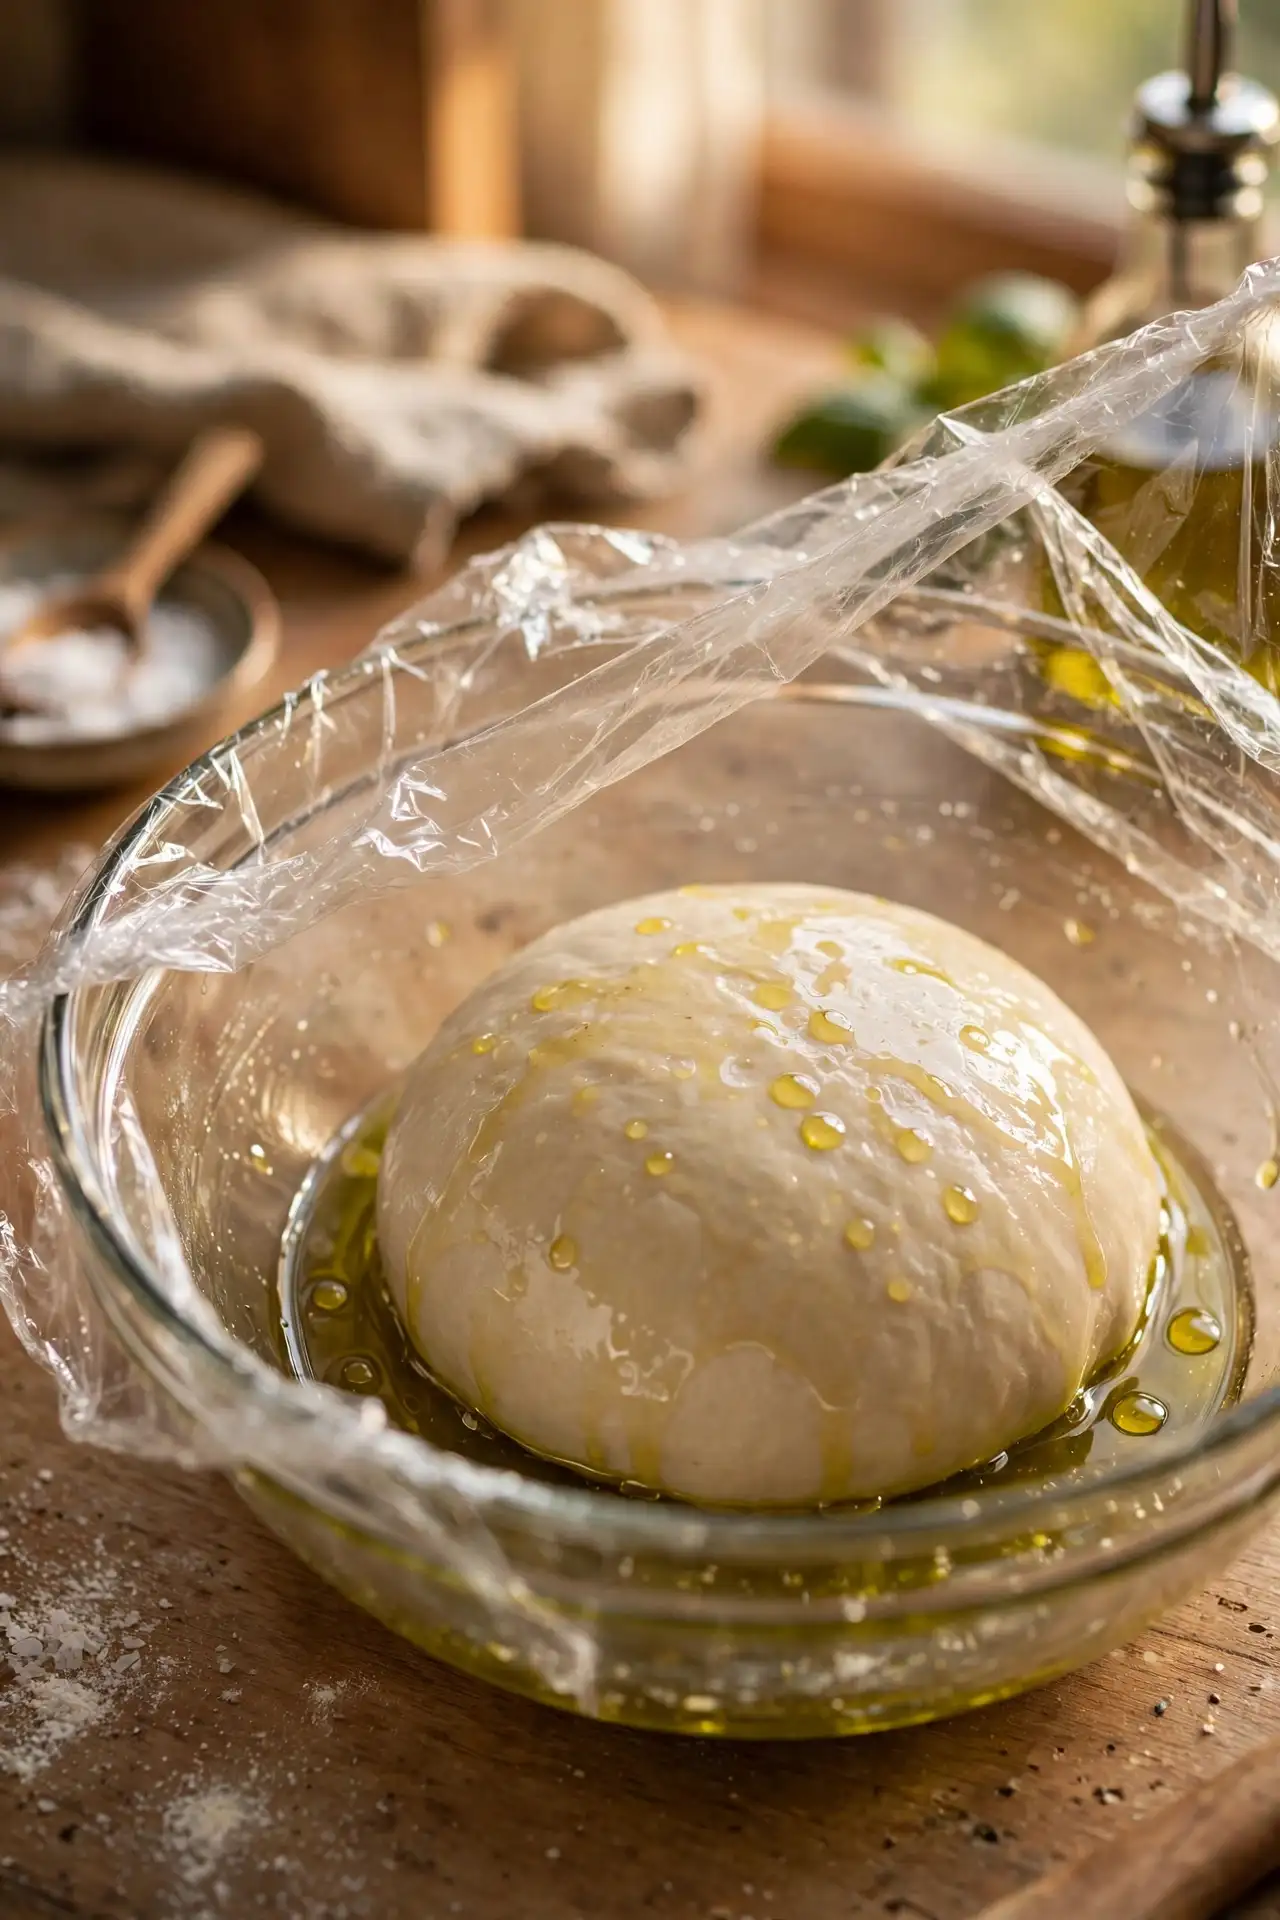
Shape the dough into a ball and place it in a lightly oiled bowl. Turn it once so the surface is coated in oil. Cover the bowl tightly with plastic wrap or a damp kitchen towel and leave it in a warm, draft-free spot for 60 minutes. The dough should roughly double in size.
If your kitchen runs cool (below 21°C / 70°F), place the covered bowl in an unheated oven with just the oven light on. The ambient warmth from the bulb is usually enough to keep the dough proofing steadily.
Step 5: Divide and rest
Punch the risen dough down gently to release the gas. Divide it into 2 equal portions, each weighing roughly 280 to 290g. Shape each portion into a tight ball by pulling the dough down and under itself to create surface tension on top. Cover both balls with a towel and let them rest for 10 minutes before you try to stretch them.
Why this works: That 10-minute rest after dividing allows the gluten to relax. Skip it and the dough springs back aggressively every time you press it flat.
Step 6: Stretch the dough
Preheat your oven to 230°C (450°F) with a baking sheet, cast iron pan, or pizza stone inside. On a lightly floured surface, press one dough ball flat with your fingertips, starting from the center and working outward. Use your knuckles or the backs of your hands to stretch it to about 28 to 30cm (11 to 12 inches), keeping the outer edge slightly thicker than the center.
Why this works: Stretching by hand preserves the gas bubbles trapped inside the dough. A rolling pin compresses them and produces a denser crust without the open, airy structure at the edges.
Step 7: Top and bake
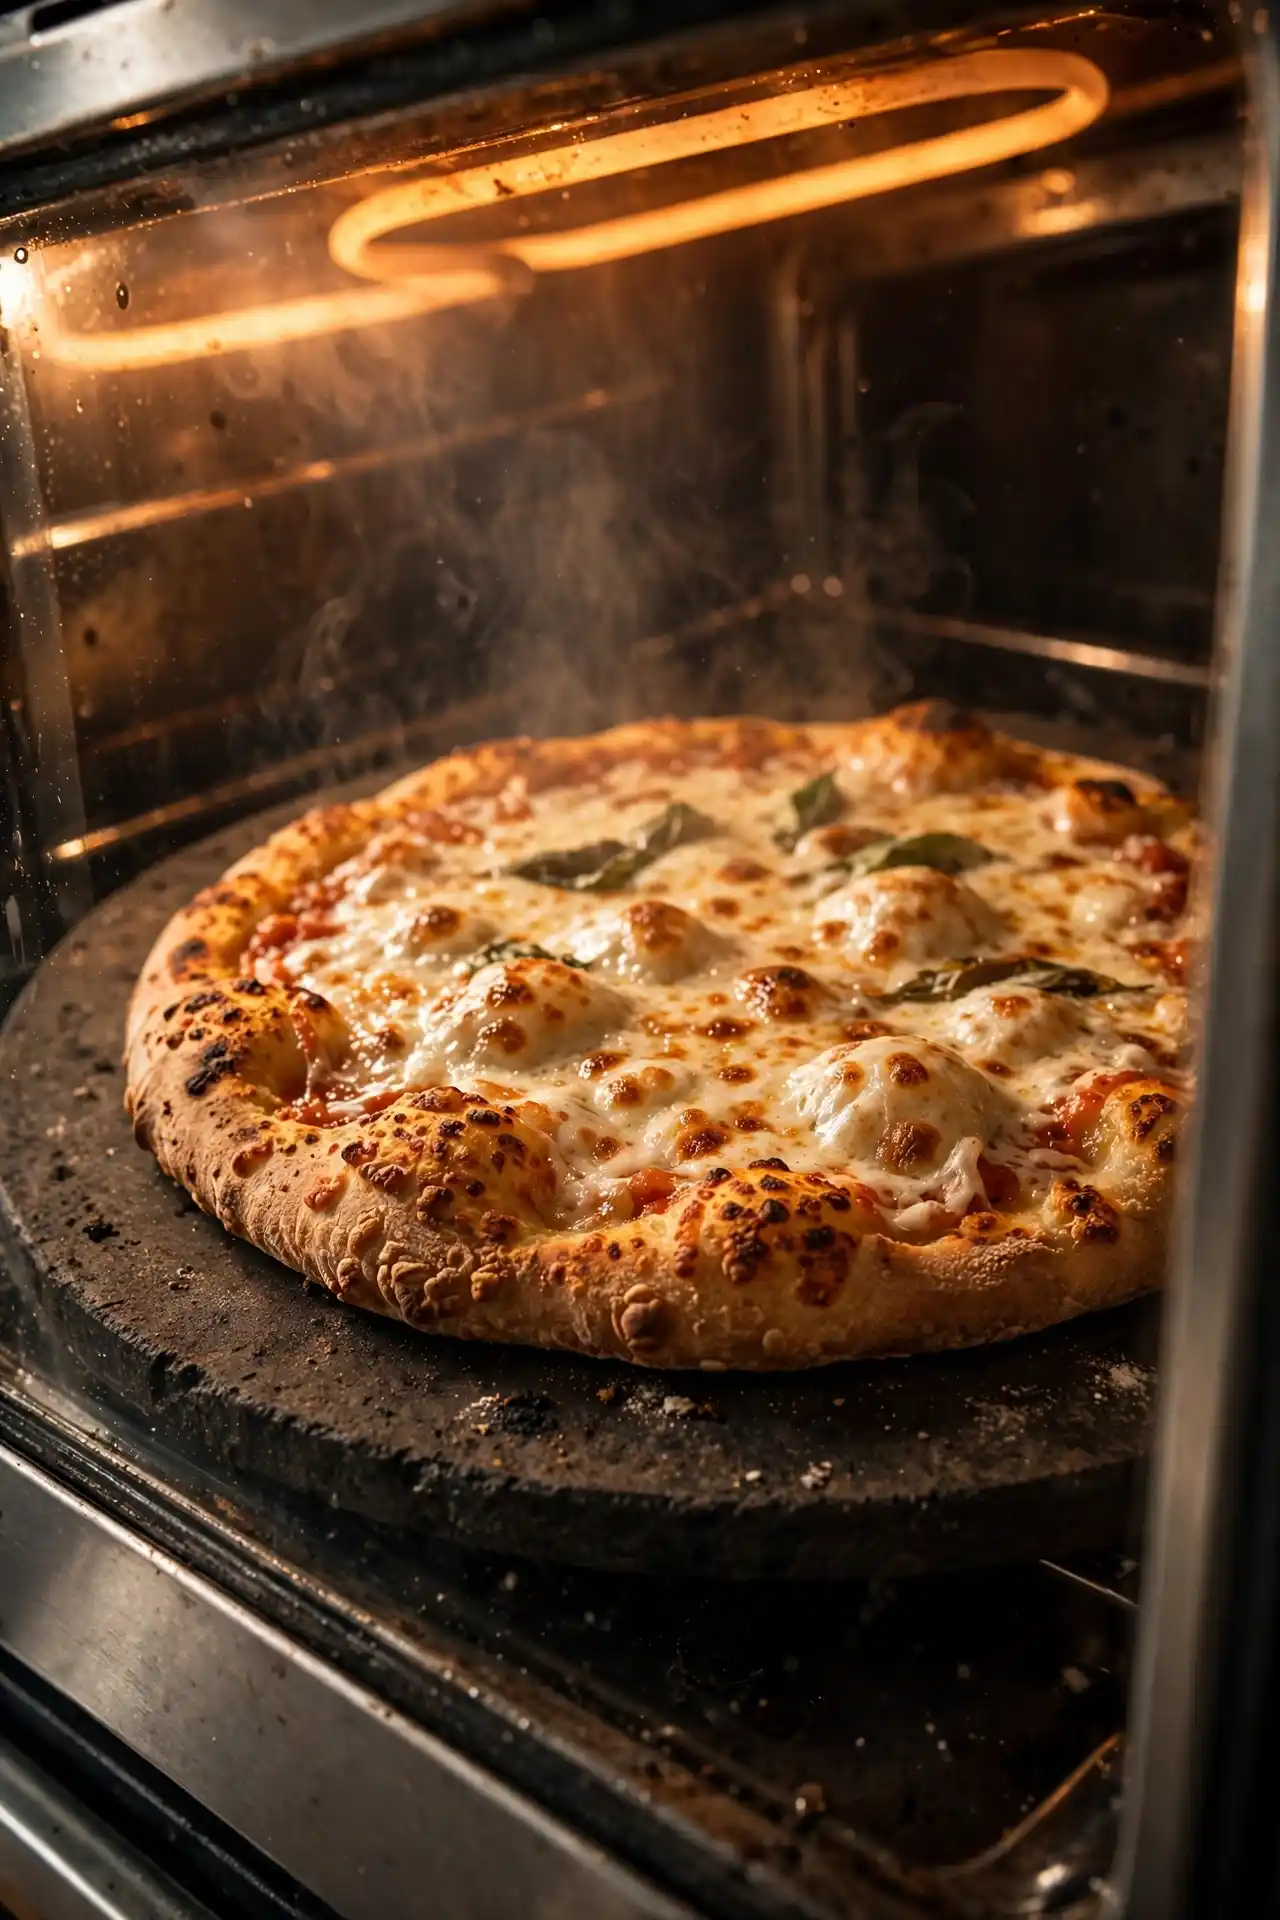
Transfer the stretched dough to a sheet of lightly floured parchment paper. Add your sauce, cheese, and toppings. Slide the pizza — parchment included — onto the preheated pan or stone. Bake for 10 to 12 minutes until the crust edges are golden brown, the underside is set and lightly charred in spots, and the cheese is fully melted and bubbling.
⚠️ Food Safety: If using raw poultry as a topping, confirm it reaches an internal temperature of 74°C (165°F) before serving. For red meat, the safe target is 63°C (145°F). Use a meat thermometer to verify — check the USDA safe minimum cooking temperatures page for a full reference.
Common Mistakes to Avoid
Even a straightforward pizza dough recipe has a handful of real failure points. These four come up consistently.
Mistake 1: Water that’s too hot
Why it happens: Most people estimate temperature by feel.
How to avoid it: Use a digital thermometer. Keep water between 38 and 43°C (100 to 110°F). Above 49°C (120°F), the yeast is dead before the dough even comes together — no amount of rising time will fix it.
Mistake 2: Under-kneading
Why it happens: Eight to ten minutes of hand kneading feels long when you’re not used to it.
How to avoid it: Use the poke test. Press two fingers about 1cm into the dough — it should spring back fully within 5 seconds. If the indent stays, keep kneading in 2-minute intervals until it passes.
Mistake 3: Skipping the pre-stretch rest
Why it happens: Most recipes list the step without explaining why it matters.
How to avoid it: After dividing, cover the dough balls and wait 10 minutes. That rest period is what makes the difference between dough that stretches cooperatively and dough that snaps back to the center.
Mistake 4: Using a rolling pin
Why it happens: It looks like the right tool for flattening dough.
How to avoid it: Hand-stretch instead. Rolling pins press the gas pockets out of the dough, so you end up with a denser crust that lacks the light, airy structure at the edges.
Variations and Substitutions
This pizza dough recipe adapts well to a few different styles without changing its core character.
Whole Wheat Dough
Replace up to 30% of the bread flour with whole wheat flour — roughly 1 cup of the total 3 cups. More than that and the dough becomes noticeably denser and harder to stretch. The finished crust has a nuttier flavor and a slightly more textured bite.
Garlic and Herb Dough
Mix 1 tsp dried oregano, 1/2 tsp garlic powder, and 1/2 tsp dried rosemary directly into the flour before combining with the liquids. This works well as a base for white sauce pizzas or as a bread to serve alongside soups and dips.
Thin Crust vs. Thick Crust
For thin crust: stretch the dough to 32 to 35cm (13 to 14 inches) and bake at 245°C (475°F) for 8 to 10 minutes. For thick pan pizza: press each dough portion into a well-oiled 23 x 33cm (9 x 13 inch) baking pan, dimple the surface with your fingers, and let it rest 20 minutes before adding toppings. Bake at 220°C (425°F) for 18 to 20 minutes.
What to Serve With This Pizza Dough
Once your pizza dough recipe base is stretched and ready, these five combinations are worth trying.
Classic Margherita: Crushed tomatoes, fresh mozzarella, and basil. The simplest option and the one that lets the crust flavor carry the pizza.
Loaded Veggie Pizza: Roasted peppers, sautéed mushrooms, olives, and caramelized onions on a tomato base.
White Garlic Pizza: Olive oil, minced garlic, mozzarella, and fresh thyme in place of tomato sauce.
Cheese Bread Sticks: Cut the stretched dough into strips, brush with garlic butter, top with mozzarella, and bake for 8 to 10 minutes.
Calzone: Fold the dough over a filling of ricotta, spinach, and mozzarella, seal the edges firmly, and bake at 230°C (450°F) for 18 to 20 minutes until deep golden on the outside.

Storage, Reheating and Make-Ahead
Fridge (uncooked dough):
Store dough balls in a lightly oiled airtight container or zip-lock bag for up to 3 days. The dough continues to ferment slowly in the fridge, which deepens the flavor over time. Take it out 30 to 45 minutes before use so it warms up and stretches easily.
Freezer (uncooked dough):
Wrap each dough ball tightly in plastic wrap, then place it in a zip-lock freezer bag. Store for up to 3 months. Thaw overnight in the fridge, then bring to room temperature for 30 minutes before stretching.
Make-Ahead (overnight cold ferment):
After kneading, skip the room-temperature rise entirely. Divide into balls, place in oiled containers, and refrigerate for 8 to 72 hours. Pull from the fridge 45 to 60 minutes before baking. Cold-fermented dough produces noticeably more flavor and a better texture than same-day dough — it’s the single most worthwhile change you can make to this process.
Reheating baked pizza:
Place leftover slices on a baking sheet and warm at 180°C (350°F) for 6 to 8 minutes. A dry skillet over medium heat for 3 to 4 minutes also works well for a single slice and keeps the base crisper. Avoid the microwave — it softens the crust and makes it chewy in the wrong way.
Allergen Information
Contains gluten (wheat). To make a gluten-free version of this pizza dough recipe, substitute with a 1:1 gluten-free flour blend formulated for bread baking. Gluten-free dough will not develop the same elasticity or chew as wheat-based dough, and results vary significantly depending on the blend used.
Nutrition Information
Per serving (1/4 of total recipe, equivalent to half of one medium pizza base, dough only, before toppings):
| Nutrient | Per Serving |
|---|---|
| Calories | 360 kcal |
| Protein | 11 g |
| Total Carbohydrates | 67 g |
| Dietary Fiber | 2 g |
| Total Sugars | 2 g |
| Total Fat | 5 g |
| Saturated Fat | 1 g |
| Sodium | 390 mg |
| Cholesterol | 0 mg |
| Potassium | 120 mg |
| Iron | 4 mg |
“Nutritional values are estimates only and may vary based on specific ingredients, brands, and portion sizes used. For precise dietary needs, consult a registered dietitian.”
Frequently Asked Questions
Can I use all-purpose flour instead of bread flour in this pizza dough recipe?
Yes, but the result will be softer and less chewy. All-purpose flour has around 10 to 11% protein compared to bread flour’s 12 to 14%, which means less gluten development during kneading. The dough will still rise and bake correctly — you just won’t get the same elasticity or the pronounced chew at the edges. For everyday pizza nights, all-purpose works fine as a substitute.
Why isn’t my pizza dough rising?
The most common reason is water temperature — too hot kills the yeast, too cold keeps it dormant. Check that your yeast is also not expired. If you store yeast in the fridge or freezer, test it first: dissolve a small amount in warm water with a pinch of sugar. If it doesn’t foam within 10 minutes, it’s no longer active. Room temperature also matters — dough rises slowly in a cold kitchen, so use the oven-light method described in Step 4 if needed.
How long should I knead pizza dough by hand?
Eight to 10 minutes of steady kneading is enough for this recipe. Use the poke test to confirm: press two fingers about 1cm into the dough — it should spring back completely within 5 seconds. If the indent holds, continue kneading in 2-minute intervals until it passes.
Can I make pizza dough ahead of time?
Yes, and the results are better when you do. After kneading, skip the room-temperature rise, divide into balls, and refrigerate for up to 3 days. The slow cold ferment builds more flavor and makes the dough easier to work with. Pull it out 45 to 60 minutes before baking.
Can I freeze pizza dough after it rises?
You can, but it’s better to freeze before the rise. Once the dough has risen, the yeast has done most of its work, and frozen post-rise dough can be slightly denser when baked. For best results, freeze the raw dough balls before any rising, thaw overnight in the fridge, and bring to room temperature before stretching.
Why does my pizza dough keep tearing when I stretch it?
Usually the gluten is too tight — this happens when you try to stretch the dough immediately after dividing. Let the dough balls rest for 10 minutes under a towel, then try again. If it still tears, it likely needs more kneading: under-developed gluten breaks instead of stretching.
How thin should I stretch pizza dough?
For standard Neapolitan-style pizza, aim for 28 to 30cm (11 to 12 inches) with a center thickness of roughly 3 to 4mm. For a thinner, crisper crust, stretch to 32 to 35cm (13 to 14 inches). The outer edge should always be slightly thicker than the center to form a proper rim that puffs up in the oven.
Conclusion
The basics of a good pizza dough recipe come down to three things: flour with enough protein, water at the right temperature, and time to rise. Get those right and the rest follows. The single habit worth building from the start is planning a day ahead — cold-fermented dough is genuinely better in flavor and easier to stretch than same-day dough, and it costs no extra effort. Make a batch on Thursday, keep the balls in the fridge, and Friday-night pizza stops being a project.
Pizza Dough Recipe Card

Pizza Dough Recipe
Ingredients
Method
- Add warm water and sugar to a large bowl. Stir in instant yeast and let sit 5 minutes.
- Add bread flour, salt, and olive oil. Mix until a shaggy dough forms with no dry flour remaining.
- Turn onto a lightly floured surface. Knead 8 to 10 minutes until smooth, elastic, and springy when poked.
- Place in a lightly oiled bowl, cover, and let rise 60 minutes until doubled in size.
- Punch dough down. Divide into 2 equal portions (about 280 to 290g each), shape into balls, cover, and rest 10 minutes.
- Preheat oven to 230°C (450°F) with a baking sheet or pizza stone inside.
- On a floured surface, stretch each dough ball to 28 to 30cm (11 to 12 inches) using your hands.
- Transfer to parchment paper. Add sauce and toppings. Slide onto the preheated surface and bake 10 to 12 minutes until crust is golden and the underside is set.