Chicken Pot Pie with a Buttery Flaky Crust (From Scratch)
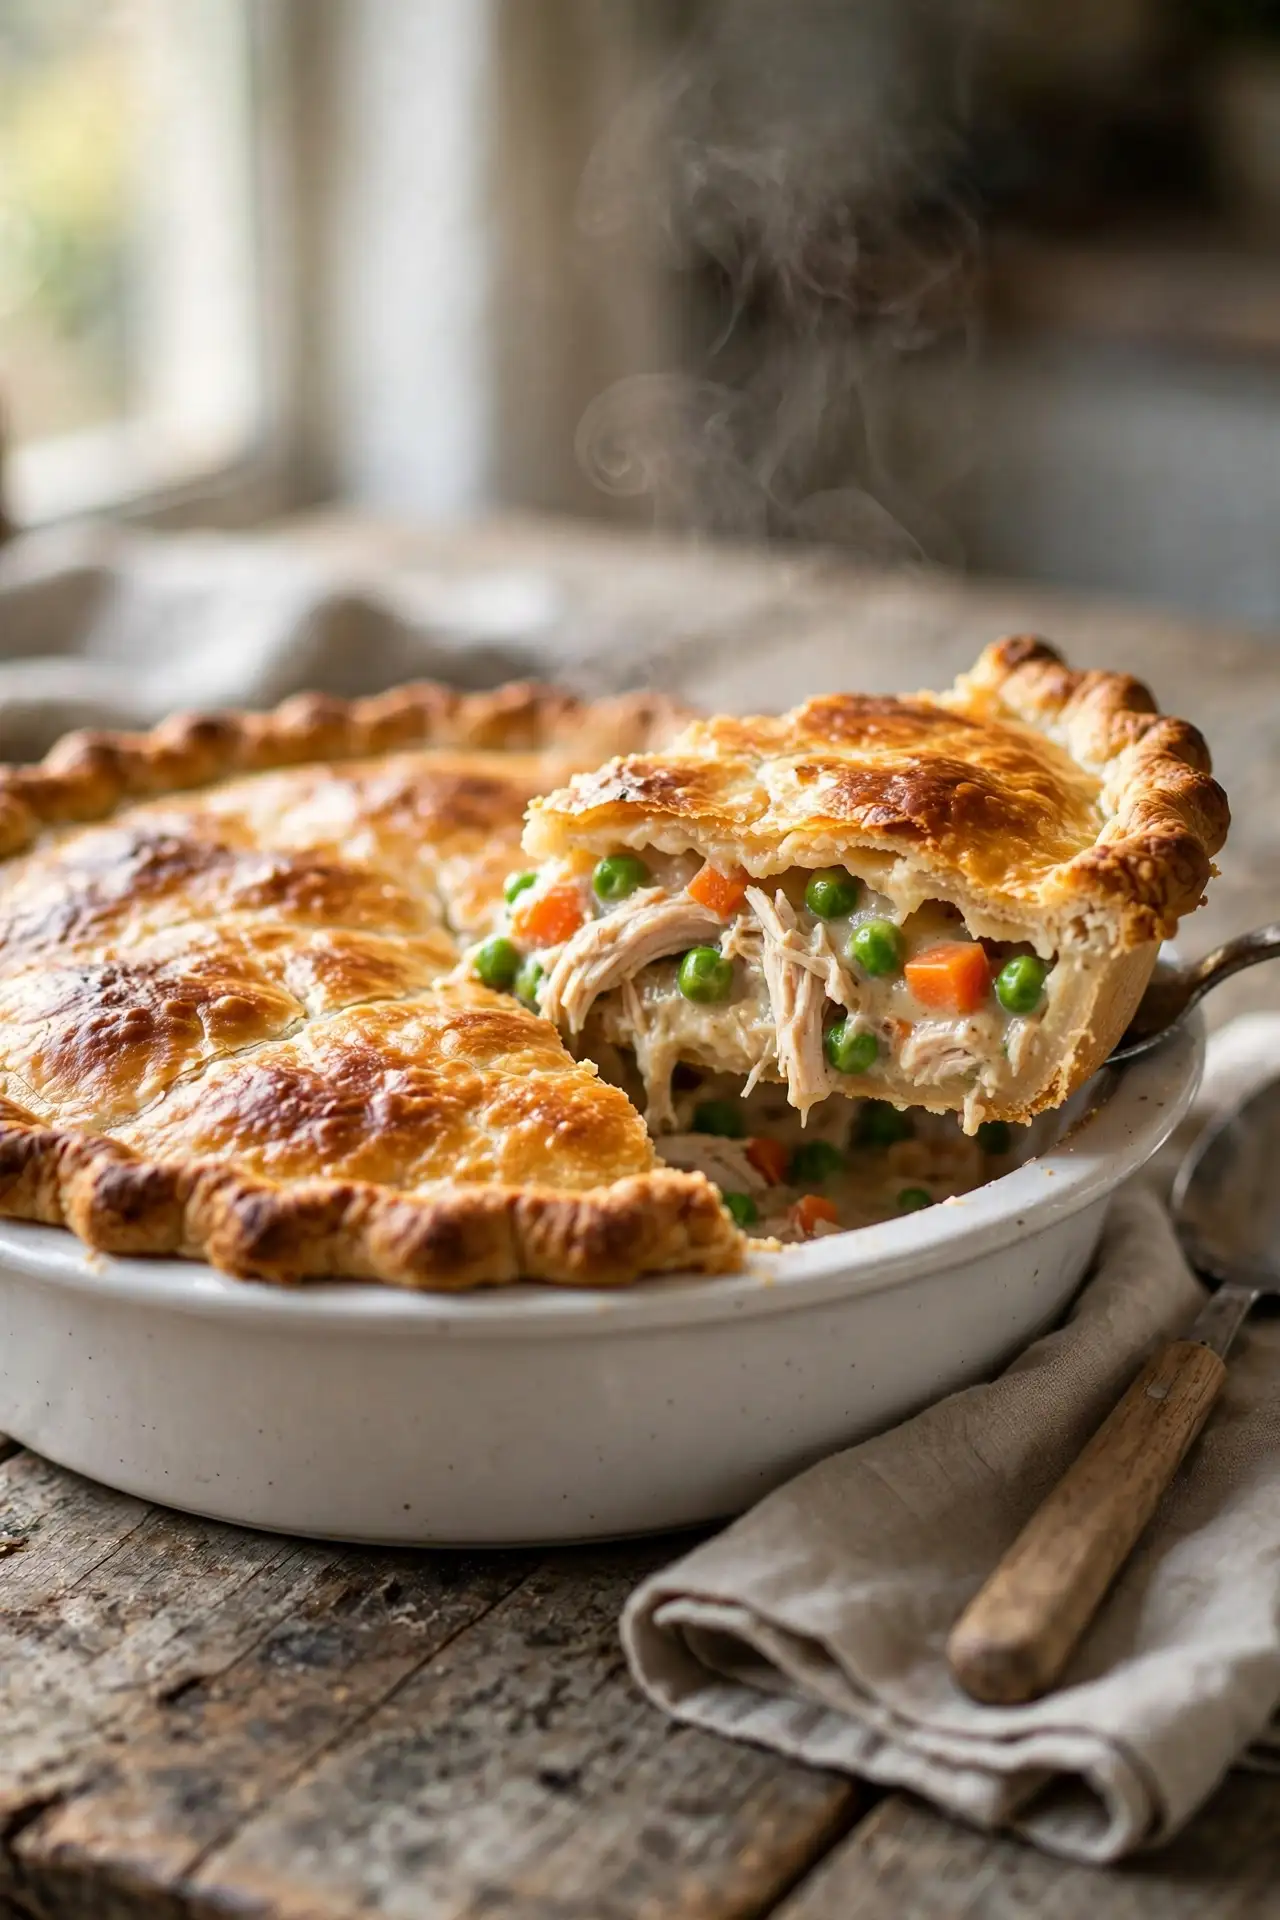
Chicken pot pie is the kind of dish that earns a permanent spot in your dinner rotation once you make it from scratch. The filling is thick, creamy, and loaded with chicken and vegetables. The crust shatters at the fork and browns to a deep, burnished gold. No canned soup, no shortcuts, and every ingredient is something you can pick up at any grocery store.
Most households have a version they return to, but the real one, built on a butter roux and genuine chicken broth, takes about 85 minutes total from start to finish. Most of that time is hands-off baking. This version does not need a stand mixer, a food processor, or any specialist equipment.
What sets this recipe apart is the filling texture. A roux-based filling holds together without being gluey, and combined with a cold-butter crust that you work by hand, the result is the one you actually want to eat.
Why You’ll Love This Chicken Pot Pie
- The filling is built on a proper roux rather than a can of cream of chicken soup, so the flavor is clean and savory without any processed aftertaste
- The crust uses cold butter worked in by hand, producing distinct flaky layers rather than a dense, shortcrust-style shell
- A store-bought rotisserie chicken works perfectly here and cuts active cooking time significantly
- The filling can be made up to two days ahead, making this a realistic meal for busy weeknights
- Leftovers reheat well in the oven, often tasting just as good the following day
Ingredients You’ll Need
For the Pie Crust
- 2½ cups (315g) all-purpose flour: spoon into the measuring cup and level off rather than scooping directly from the bag, which compacts the flour and leads to a tougher crust
- 1 tsp fine salt: sharpens the butter flavor throughout the pastry
- 1 tsp granulated sugar: helps the crust brown evenly without making it sweet
- 1 cup (225g) cold unsalted butter, cut into small cubes: must be straight-from-the-fridge cold; warm butter will make the crust dense and crumbly rather than flaky
- 6-8 tbsp ice water: add one tablespoon at a time so you control exactly how much moisture the dough takes in
Crust note: If using a store-bought pie crust, check the label for lard. Some brands use it as the shortening. Look for one made with butter or vegetable shortening, or make the homemade version above.
For the Filling
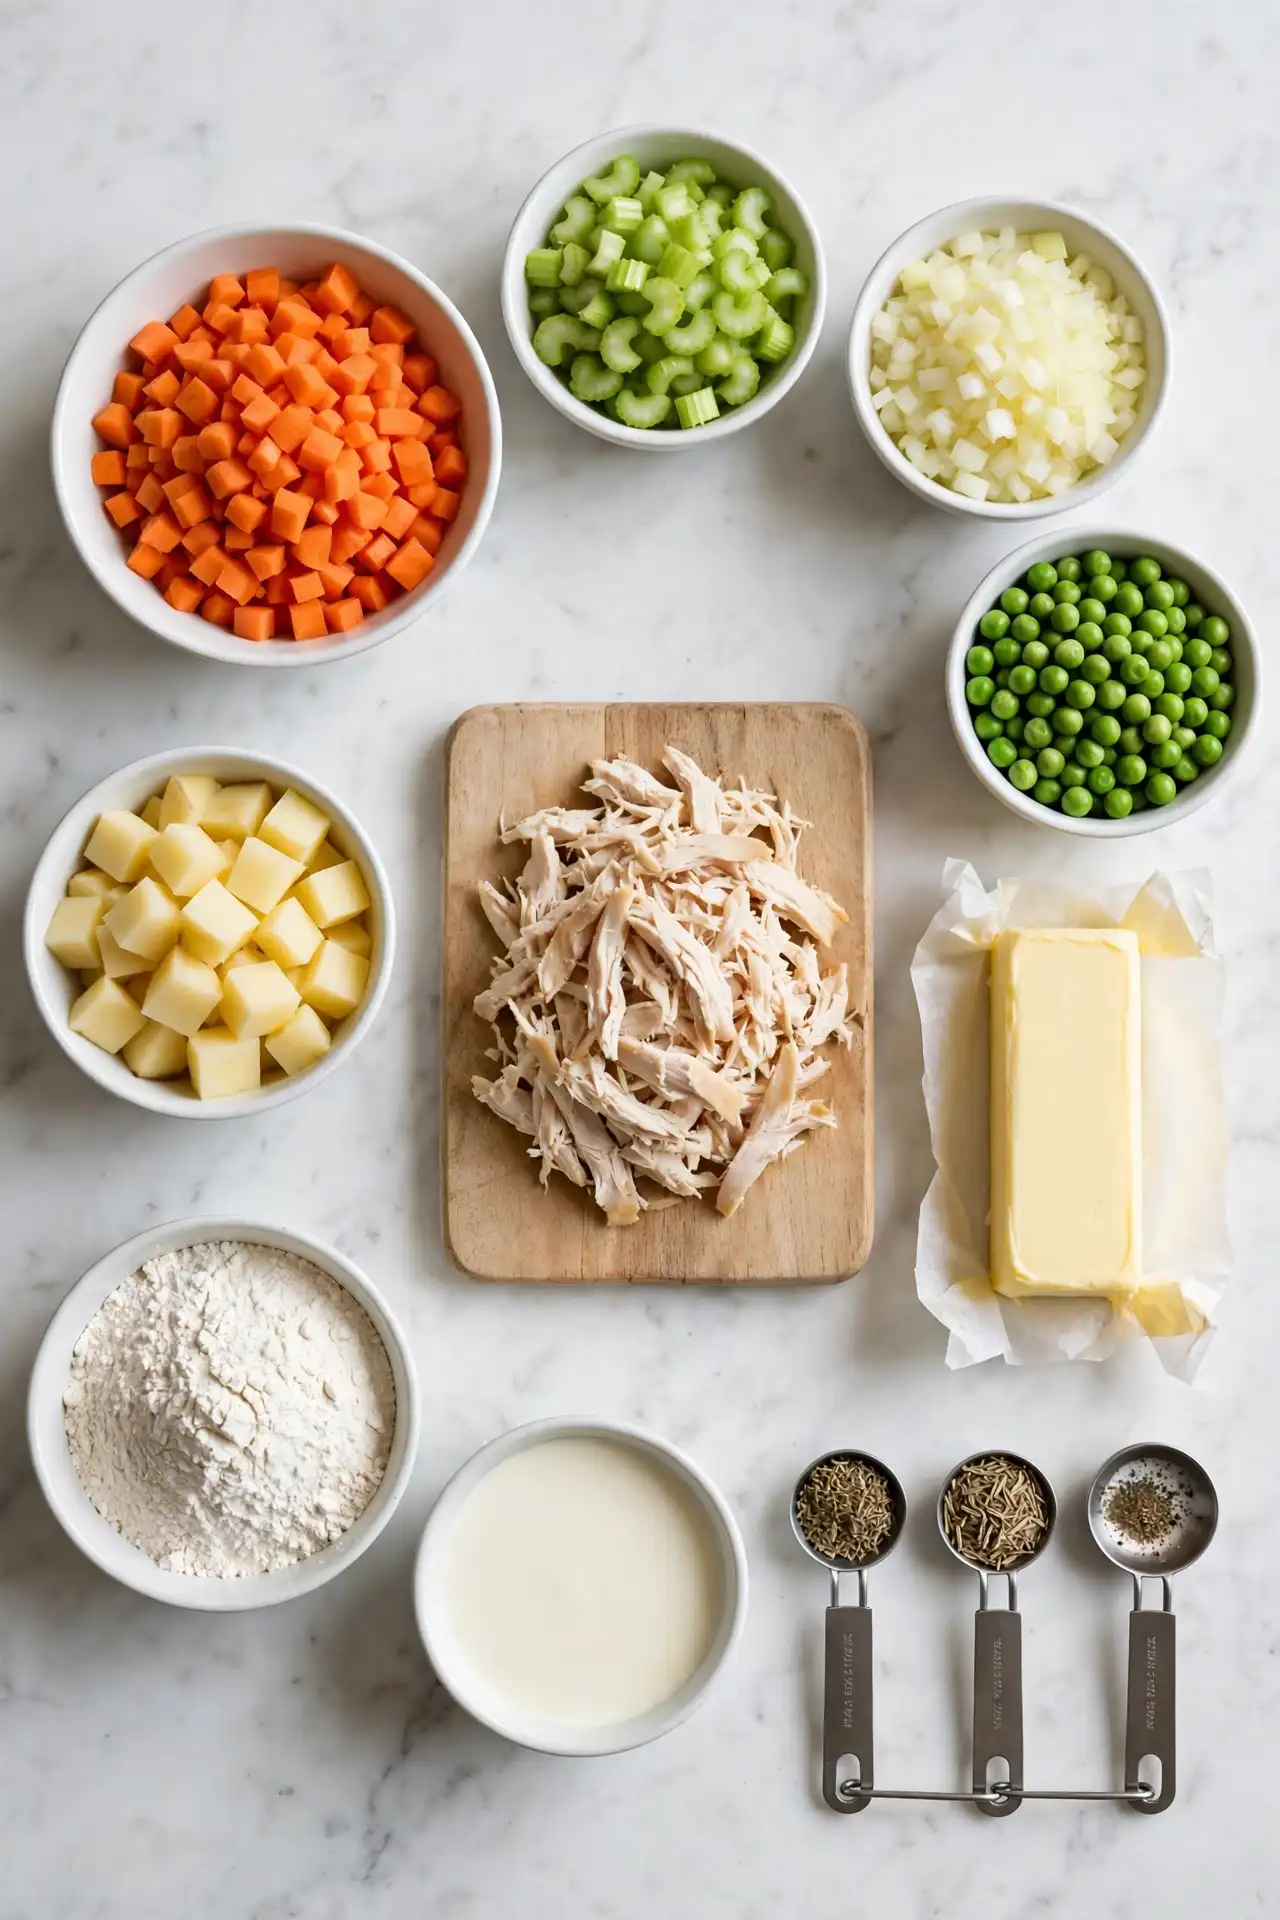
- 3 cups (420g) cooked chicken, shredded or cut into bite-sized pieces: a store-bought rotisserie chicken is ideal here; it is already moist, seasoned, and ready with no extra cooking required
- 4 tbsp (60g) unsalted butter: the fat base of the roux that thickens the filling
- 1 medium yellow onion, finely diced (about 1 cup)
- 2 stalks celery, sliced into thin pieces
- 2 medium carrots, peeled and cut into ½-inch dice
- 3 cloves garlic, minced
- ⅓ cup (42g) all-purpose flour: cooked into the butter before any liquid is added to remove the raw flour taste
- 1½ cups (360ml) low-sodium chicken broth: the primary flavor carrier of the filling; the quality of your broth matters here
- ½ cup (120ml) heavy cream: gives the filling its rich, silky consistency
- 1 cup (145g) frozen peas, used straight from frozen: do not thaw; they go in at the very end of cooking
- 1 tsp dried thyme
- ½ tsp dried rosemary, crushed between your fingers before adding
- 1 tsp salt, plus more to taste
- ½ tsp black pepper
- 1 large egg beaten with 1 tbsp water: the egg wash that gives the top crust its deep amber color in the oven
Recipe Timing
| Timing Element | Duration |
|---|---|
| Prep Time | 30 minutes |
| Cook Time | 45 minutes |
| Rest Time | 10 minutes |
| Total Time | 85 minutes |
Servings: 6 | Difficulty: Medium | Cuisine: American | Course: Main Course
How to Make Chicken Pot Pie: Step by Step
Step 1: Make the pie crust dough
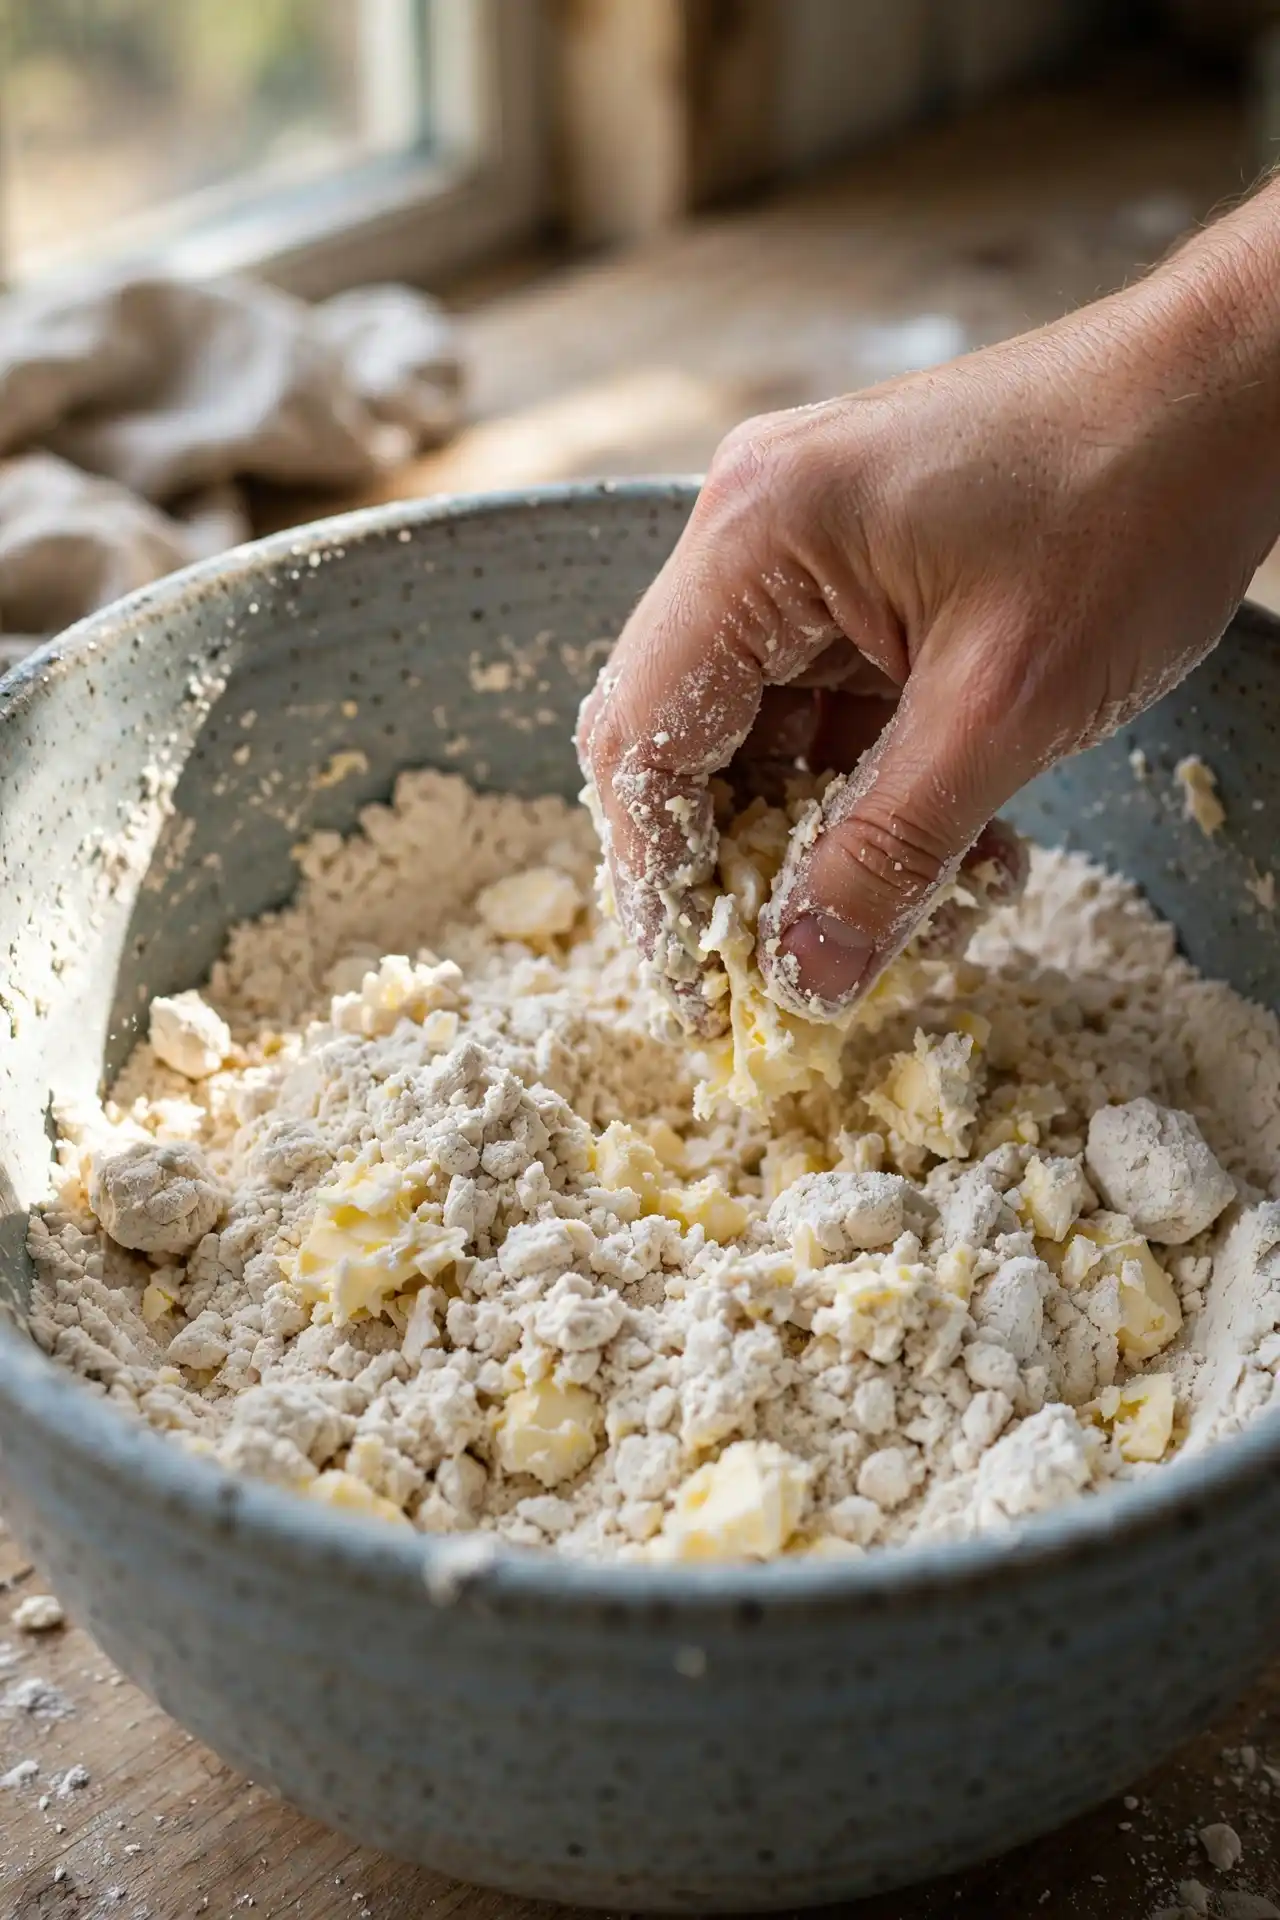
Add the flour, salt, and sugar to a large bowl and stir briefly to distribute everything evenly. Add the cold butter cubes and press them into the flour with your fingertips, flattening each cube. Work quickly until the mixture looks like rough, uneven crumbs with some pieces still the size of a small pea. Add ice water one tablespoon at a time, mixing with a fork after each addition, until the dough just comes together when you press a small piece between your fingers.
Why this works:
Leaving visible butter pieces in the dough means the butter creates steam pockets as it melts in the oven. Those pockets are what produce distinct flaky layers in the baked crust.
Step 2: Chill the dough
Divide the dough evenly into two flat disks and wrap each tightly in plastic wrap. Refrigerate for at least 30 minutes. The dough can stay refrigerated for up to 2 days at this stage, which makes it a flexible make-ahead step.
Why this works:
Chilling relaxes the gluten developed during mixing and keeps the butter cold. Both are necessary for dough that rolls out easily and bakes up tender rather than tough.
Step 3: Cook the vegetables
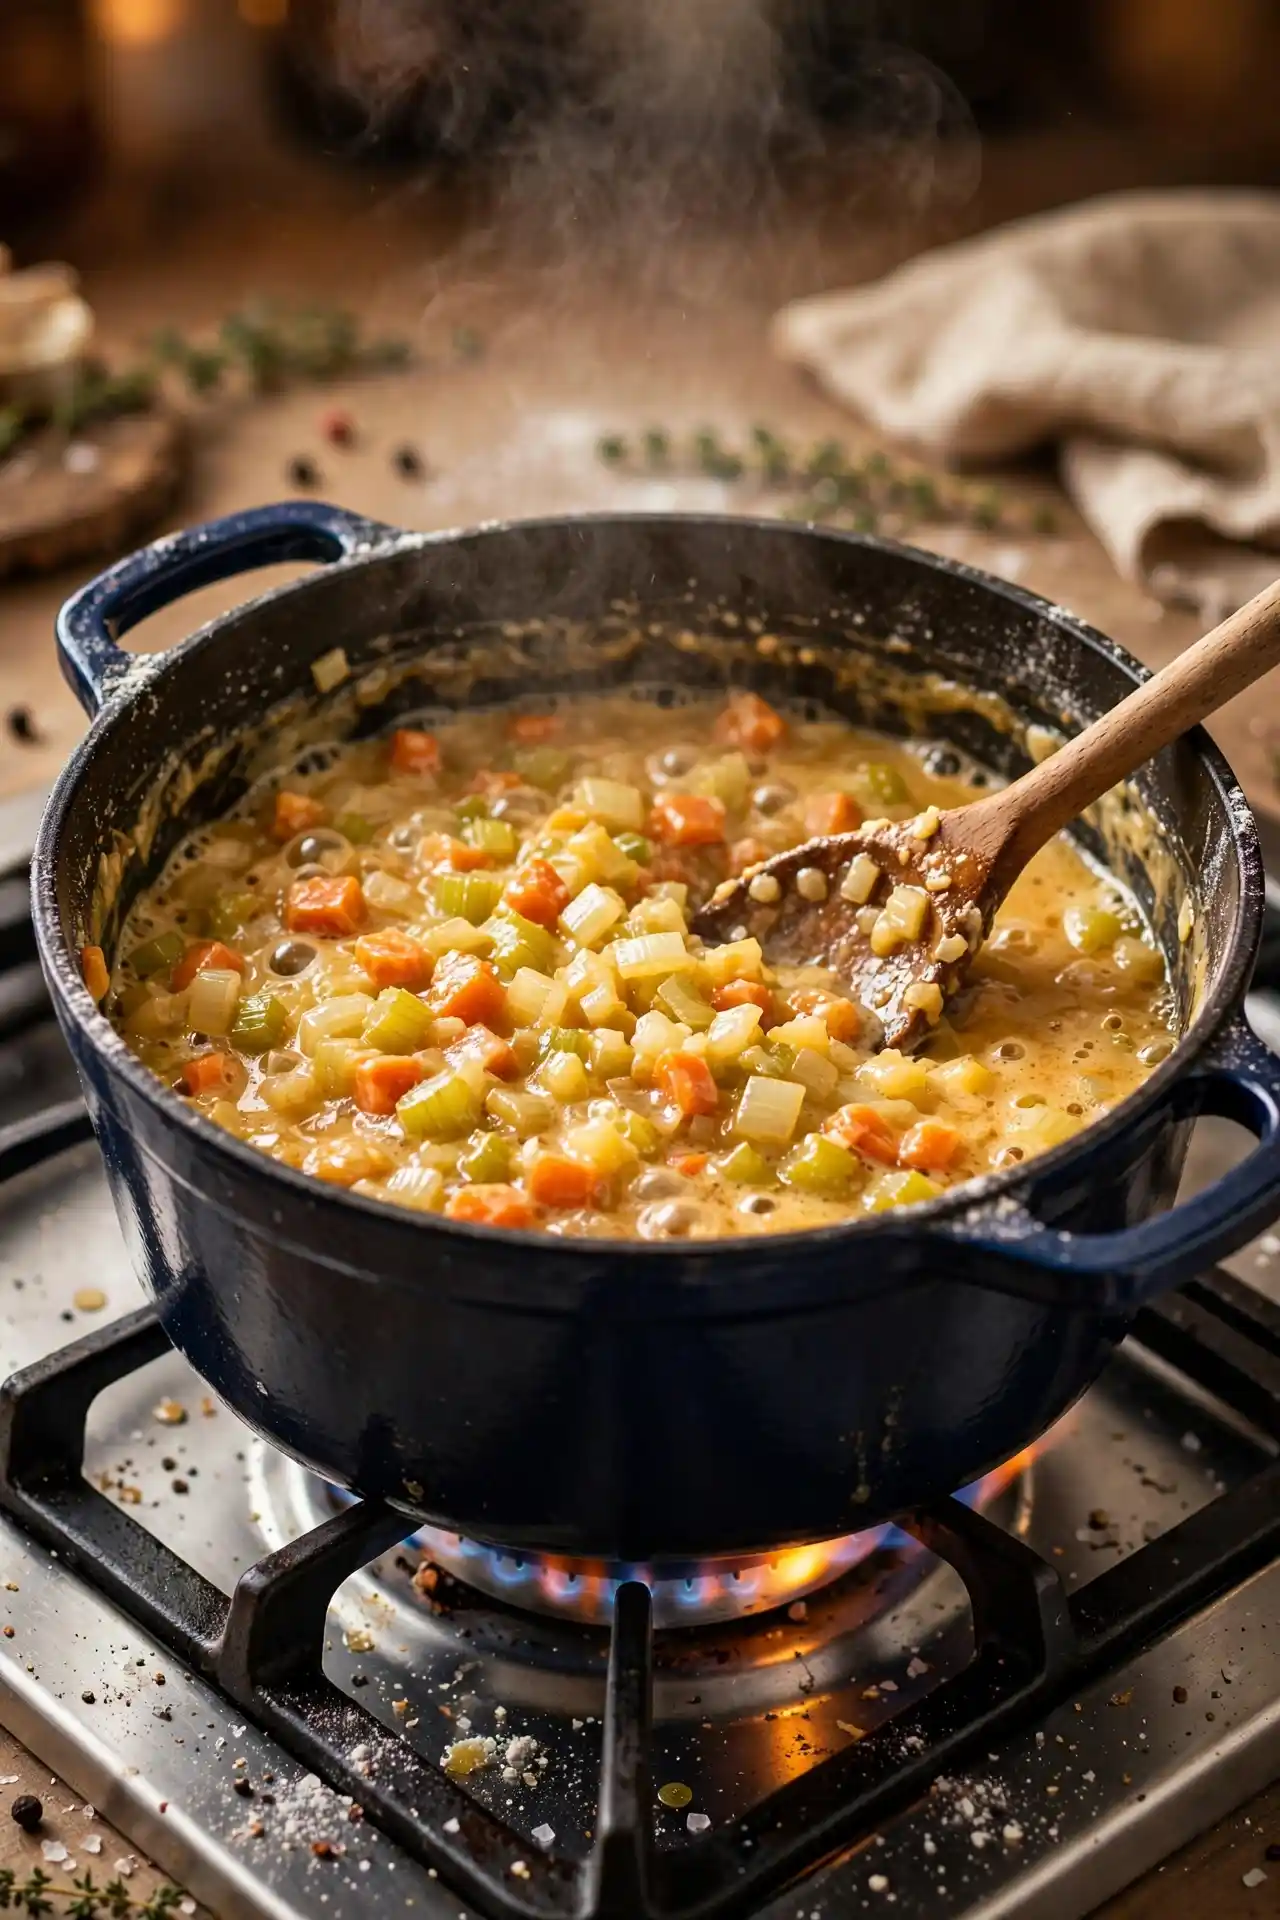
Melt the 4 tablespoons of butter in a large, heavy-bottomed pot or Dutch oven over medium heat. Add the diced onion, celery, and carrots. Cook, stirring occasionally, for 6-8 minutes until the onion is fully soft and translucent and the carrots have just started to give. Add the minced garlic and cook for 1 more minute until fragrant.
Step 4: Build the roux
Sprinkle the flour over the cooked vegetables and stir constantly for 2 full minutes. The mixture will look dry and take on a slightly golden color. You are looking for the raw, chalky flour smell to disappear entirely. This takes closer to 2 minutes than 1, so do not rush it.
Why this works:
Cooking the flour in butter first creates a stable thickener that holds up through baking. Undercooked roux leaves a starchy, chalky aftertaste that carries through to the finished pie.
Step 5: Add the liquids
Pour the chicken broth into the pot in a slow, steady stream while whisking constantly to prevent lumps from forming. Add the heavy cream and continue whisking. Raise the heat slightly and bring the mixture to a gentle simmer. Cook, stirring, for 3-4 minutes until the filling thickens enough to coat the back of a spoon. Add the thyme, crushed rosemary, salt, and pepper, and stir to combine.
Step 6: Finish the filling
Stir in the cooked chicken and the frozen peas. Taste the filling and adjust salt and pepper as needed. It should taste slightly bold at this stage, as the flavor evens out once sealed and baked inside the pastry. Remove the pot from heat and let the filling cool for at least 10-15 minutes before assembly.
⚠️ Food Safety: If using freshly cooked chicken rather than a pre-cooked rotisserie bird, confirm the internal temperature has reached 75°C (165°F) before shredding. Use a meat thermometer and check the thickest part of the meat. For poultry handling guidance, see the USDA FSIS safe minimum internal temperature guidelines.
Step 7: Preheat and roll out the bottom crust
Set the oven to 200°C (400°F) and allow it to preheat fully. On a lightly floured surface, roll one chilled dough disk into a circle about 30cm (12 inches) in diameter. Transfer it to a 23cm (9-inch) deep-dish pie plate by rolling the dough loosely around the rolling pin and then unrolling it over the plate. Press the dough gently into the bottom and up the sides, letting the excess hang over the edge.
Step 8: Fill and top the pie
Pour the cooled filling into the lined pie dish in an even layer. Roll the second dough disk into a 30cm circle and lay it over the filling. Fold the overhanging bottom crust edge up and over the top crust edge, pressing to seal. Crimp the edges firmly with a fork or your fingers. Cut 4-5 small slits in the center of the top crust to allow steam to escape. Brush the full crust surface with the beaten egg wash.
Why this works:
The steam vents let built-up pressure escape, which prevents the top crust from bubbling and cracking unevenly. The egg wash proteins brown rapidly in the oven heat, producing the deep amber color that makes a well-baked chicken pot pie look the way it should.
Step 9: Bake
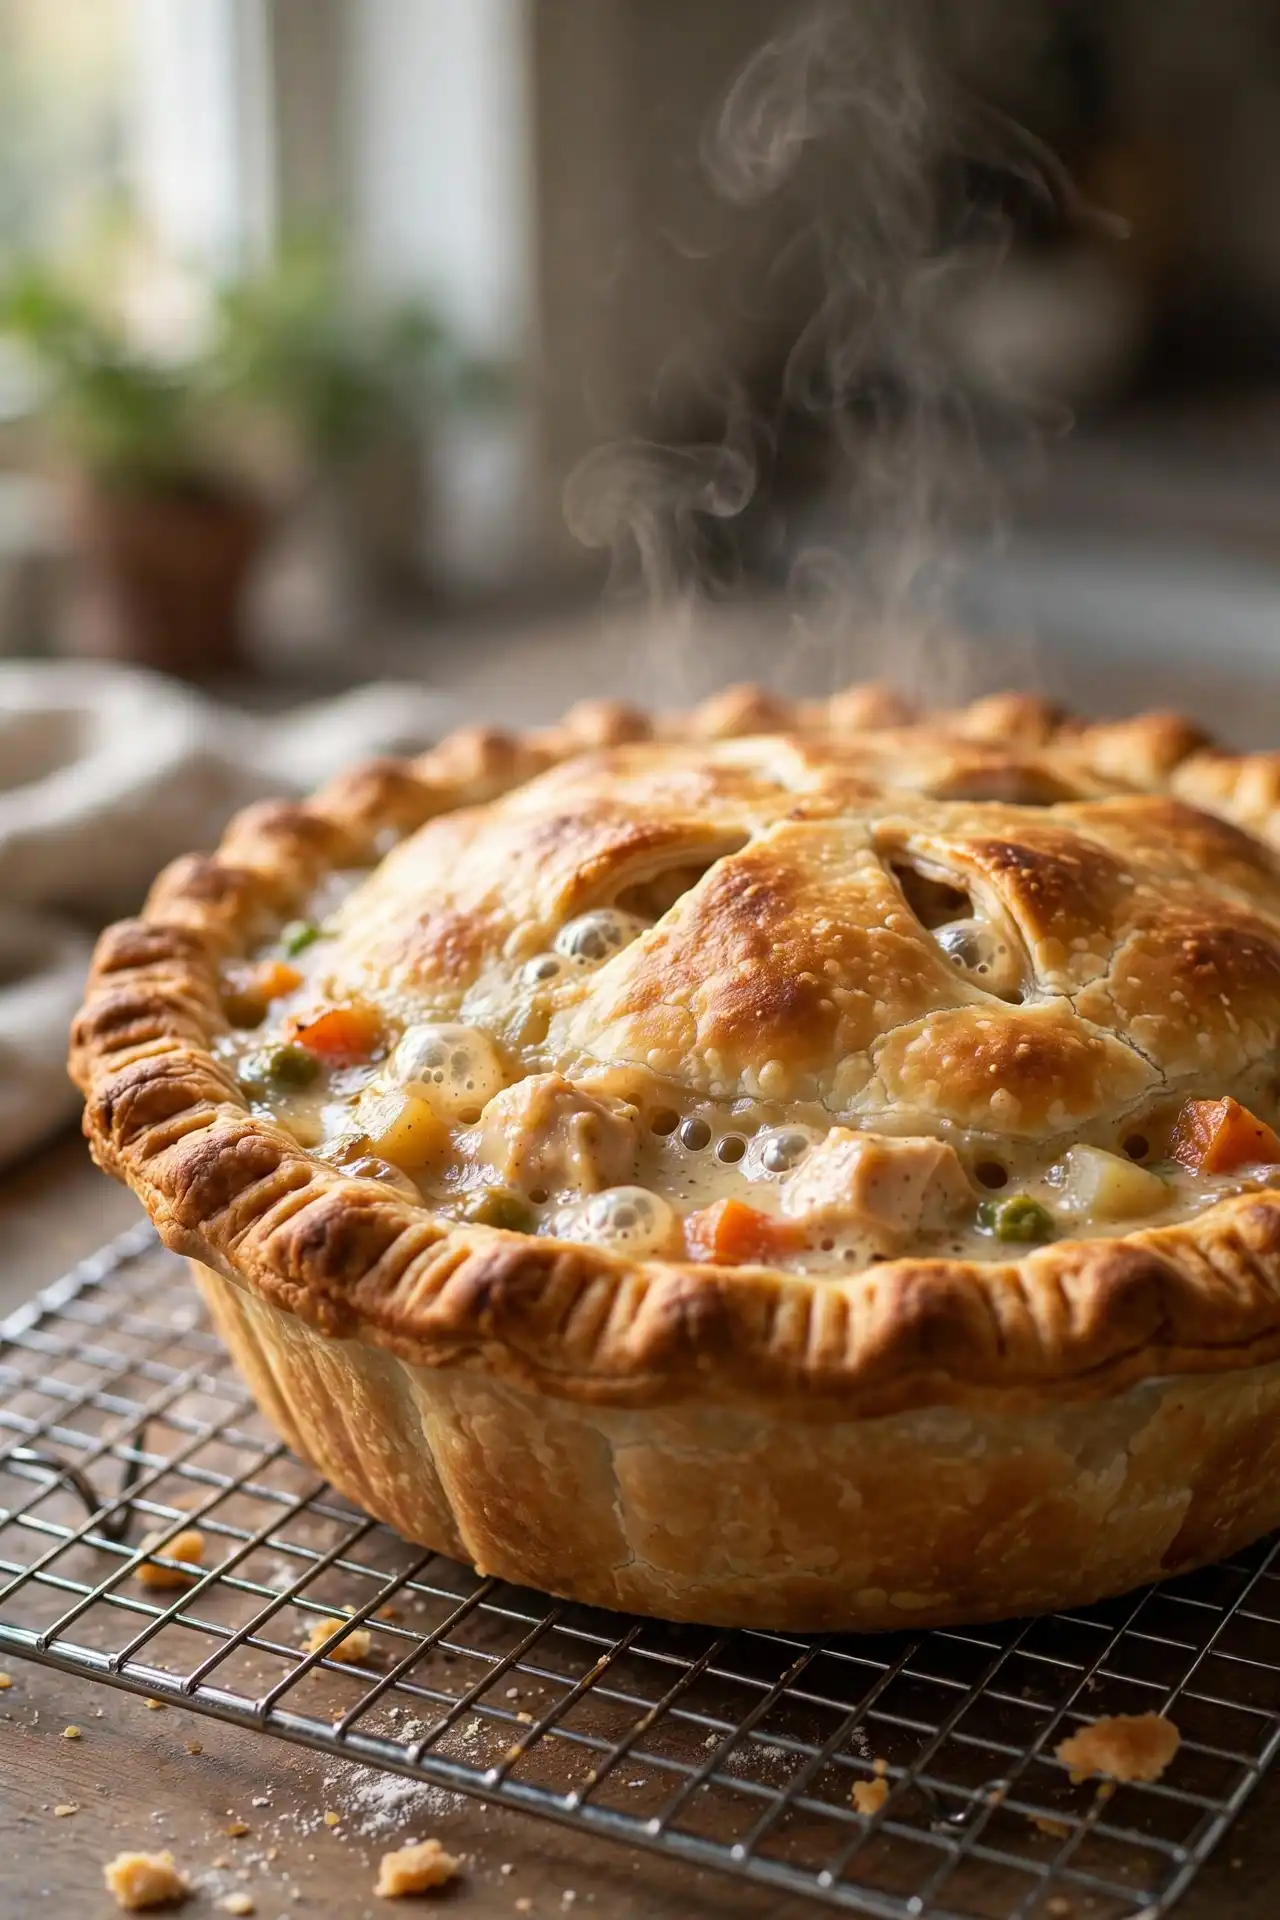
Place the pie on a rimmed baking sheet to catch any drips. Bake at 200°C (400°F) for 40-45 minutes. The pie is fully done when the crust is a deep, even golden brown across the entire surface and the filling is visibly bubbling through the steam vents or around the crust edges. If the edges darken before the 40-minute mark, cover them loosely with strips of aluminum foil.
Step 10: Rest and serve
Transfer the pie to a wire rack and let it rest for 10 minutes before cutting. This brief rest allows the filling to firm up slightly so it holds its shape rather than pouring out when you slice.
Key Tips for Best Results
These apply specifically to chicken pot pie and are not restated from the steps above.
Keep the butter cold throughout the crust-making process. If your kitchen runs warm, put the bowl of flour and the butter cubes in the freezer for 10 minutes before starting. Some bakers wear food-grade latex gloves to stop body heat from softening the butter as they work. Warm fat in the dough produces a crust that is dense and compact rather than flaky and layered.
Cool the filling before assembly. A warm filling begins melting the butter in the bottom crust before the oven has time to set it, which leads to a soft, undercooked base. Ten to fifteen minutes of cooling is the minimum. If you made the filling a day ahead, pull it from the fridge 20 minutes before assembly so it is not ice-cold going into the raw pastry shell.
Season the filling confidently before it goes in. Once the pie is sealed and baked, you cannot adjust seasoning. A filling that tastes slightly bold at the pot stage usually tastes balanced after baking, as the crust absorbs some of the salt.
Use a deep-dish pie plate. A standard shallow pie plate will overflow with this quantity of filling. You need a plate with sides at least 5cm (2 inches) deep.
Common Mistakes to Avoid
Undercooking the roux. One minute of cooking feels like enough, but the raw, starchy flour taste does not fully cook out until the two-minute mark. If you can still detect a faint chalky smell from the pot, keep stirring.
Cutting the pie immediately after it comes out of the oven. The filling inside a freshly baked chicken pot pie is liquid-hot and will pour out when cut. Ten minutes on the rack is the minimum. It costs very little time in the context of an 85-minute recipe.
Adding the peas too early. Peas cooked from the start of Step 3 turn army-green and mushy by the time the pie is done. They go in frozen at Step 6 and heat through fully during baking without overcooking.
A pale or soft bottom crust. This almost always comes from one of three things: the oven was not fully preheated, the filling was still warm when assembled, or the pie plate was too light in color to conduct heat to the bottom pastry. Dark or glass pie plates transfer heat more efficiently to the base and produce a better result.
Variations and Substitutions
This chicken pot pie filling is flexible without changing the fundamental character of the dish.
Puff pastry top crust: Replace only the top crust with a single thawed sheet of store-bought puff pastry. Drape it over the filled pie dish, trim the overhang to about 2cm, and press the edges to seal against the bottom crust. It bakes faster than a standard pastry top, so start checking for color at the 30-minute mark.
Chicken and mushroom: Add 200g (7oz) of sliced cremini mushrooms to the pot in Step 3 alongside the other vegetables. Cook until all the moisture the mushrooms release has fully evaporated before adding the flour. The mushrooms add depth to the filling without making the dish heavier.
Whole milk instead of heavy cream: Whole milk works as a substitute but produces a thinner filling. Add one extra tablespoon of flour to the roux in Step 4 to compensate for the reduced fat content.
What to Serve with Chicken Pot Pie
Chicken pot pie is a full meal on its own, with protein, starch, and vegetables all in one dish. A few sides round it out without duplicating what is already in the filling.
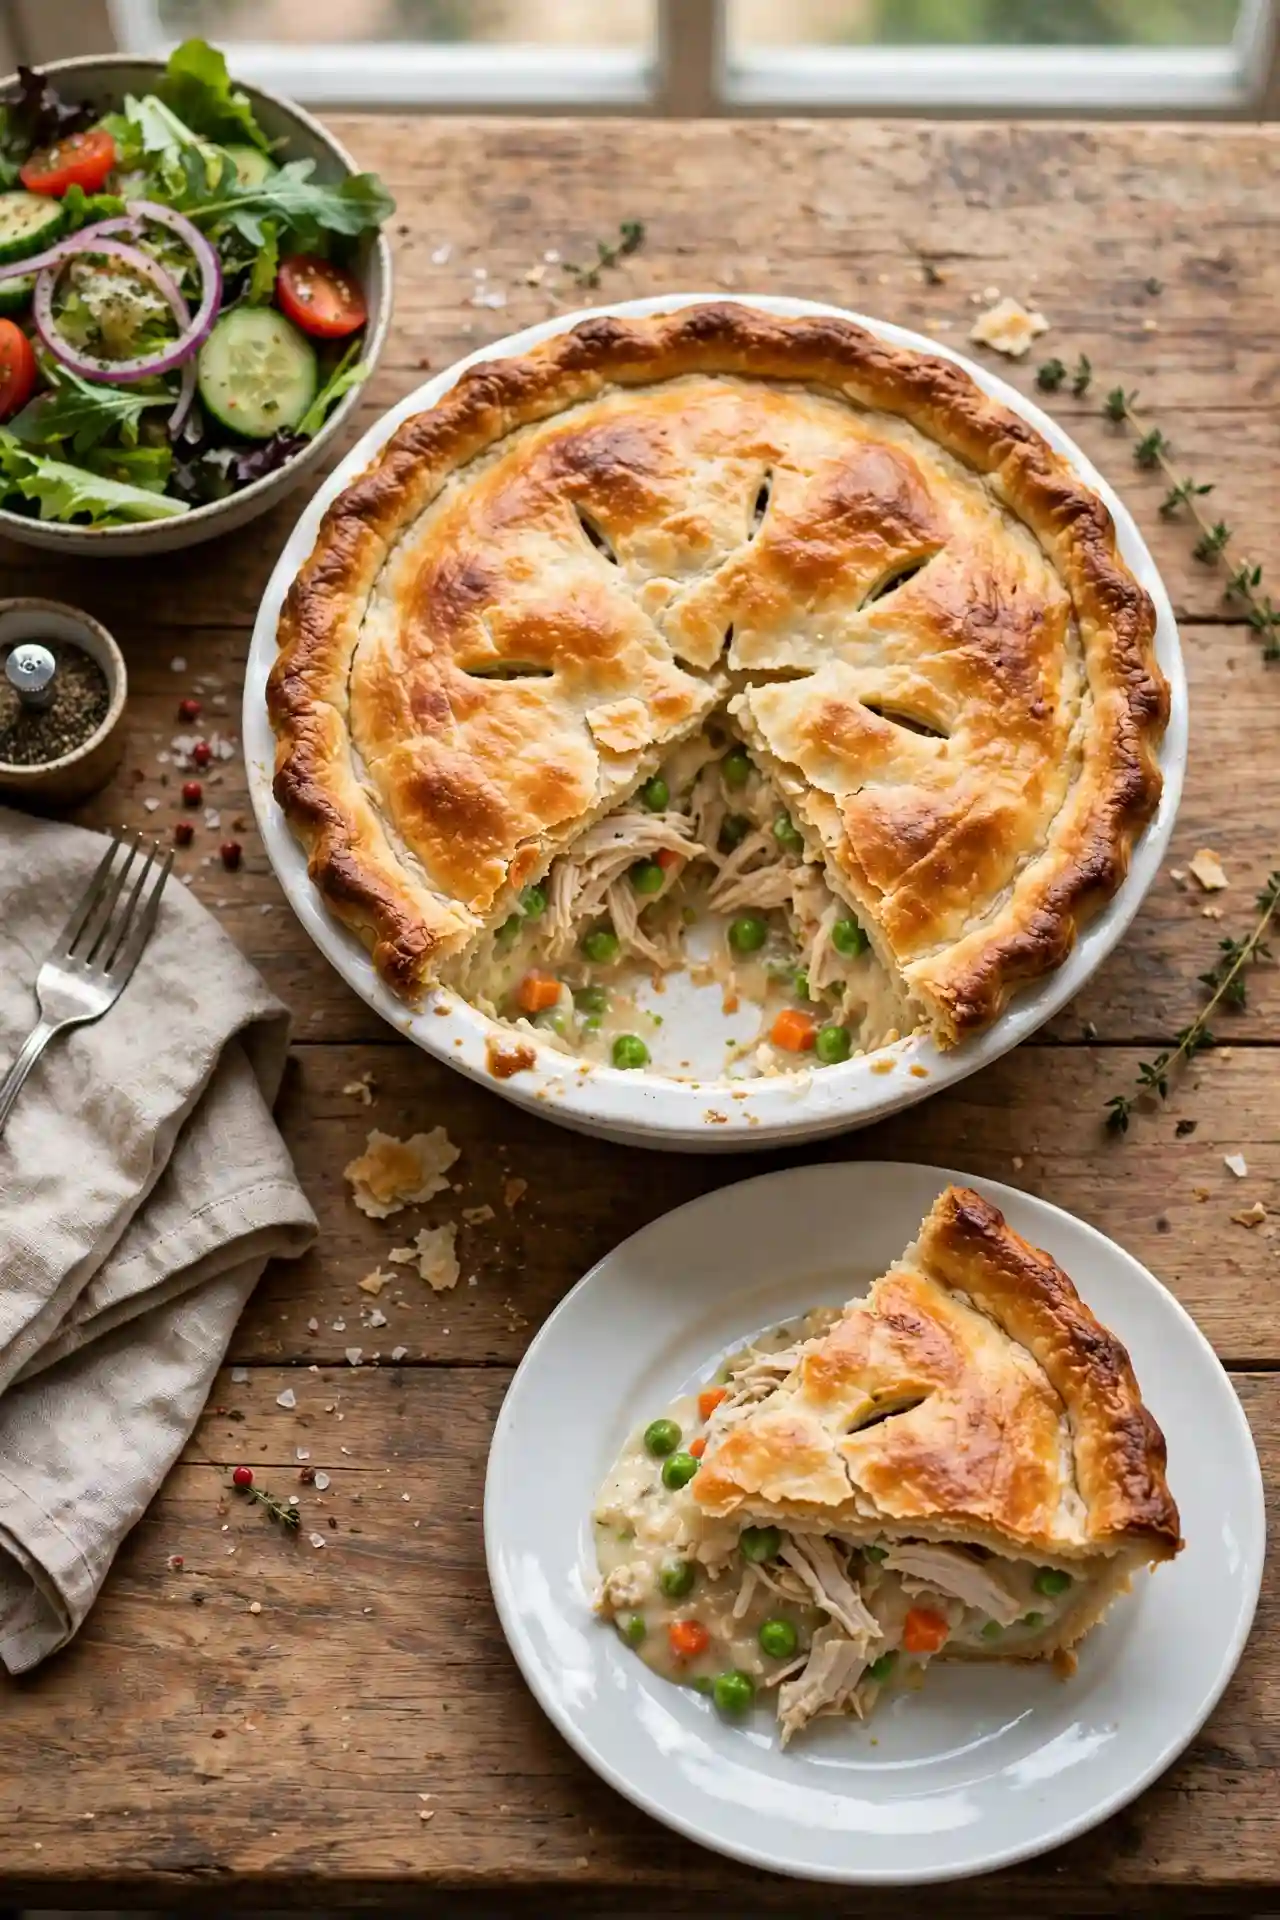
A simple green salad with a sharp vinaigrette cuts through the richness of the cream-based sauce and gives each plate some contrast.
Steamed green beans or broccoli keep things light. Both cook quickly alongside the resting pie and add a green vegetable that is not already inside the crust.
Roasted sweet potato wedges pair particularly well with the savory, herb-forward filling.
A cold glass of ayran (salted yogurt drink) balances the richness of the pastry better than most other drinks alongside this dish.
Storage, Reheating, and Make-Ahead
Fridge: Store leftover chicken pot pie tightly covered with foil or in an airtight container for up to 3 days. The crust softens overnight but crisps back up during reheating.
Freezer: Freeze the assembled, unbaked pie for up to 3 months. Wrap it first in two layers of plastic wrap, then one layer of aluminum foil. Bake straight from frozen at 190°C (375°F) for 70-80 minutes, covering the crust edges with foil for the first 40 minutes to prevent them burning before the filling heats through.
Reheat: Place individual portions in a 175°C (350°F) oven for 15-20 minutes until the crust is crisp again and the filling is bubbling at the edges. The microwave makes the crust rubbery and is worth avoiding here.
Make-ahead: The filling keeps in an airtight container in the fridge for up to 2 days. The pie dough keeps refrigerated for 2 days or frozen for up to 1 month. Assemble and bake when ready. If the filling goes in cold from the fridge, add 5-10 minutes to the bake time.
Allergen and Dietary Disclosure
Contains gluten (all-purpose flour in both the crust and the roux). To make this chicken pot pie gluten-free, substitute a 1:1 gluten-free baking blend for both uses of flour.
Contains dairy (butter, heavy cream). For a dairy-free version, use cold vegan butter or refined coconut oil in the crust and replace the heavy cream with full-fat coconut cream in the filling.
Contains eggs (egg wash only). Brush with oat milk or another plant-based milk for an egg-free alternative.
Nutrition Information
Per serving (recipe serves 6):
| Nutrient | Per Serving |
|---|---|
| Calories | 482 kcal |
| Protein | 23 g |
| Total Carbohydrates | 37 g |
| Dietary Fiber | 3 g |
| Total Sugars | 4 g |
| Total Fat | 28 g |
| Saturated Fat | 15 g |
| Sodium | 590 mg |
| Cholesterol | 98 mg |
| Potassium | 415 mg |
| Vitamin C | 8 mg |
| Iron | 3 mg |
Nutritional values are estimates only and may vary based on specific ingredients, brands, and portion sizes used. For precise dietary needs, consult a registered dietitian.
Frequently Asked Questions
Can I use rotisserie chicken for this recipe?
Yes, and it often produces better results than cooking chicken from raw. Rotisserie chicken is already moist and well-seasoned, and using both breast and thigh meat gives the filling better texture than breast meat alone. One medium rotisserie bird typically yields about 3 cups of shredded meat, which is exactly what this recipe needs.
How do I stop the bottom crust from getting soggy?
Three things matter most. Let the filling cool for at least 10-15 minutes before assembly. Use a dark or glass pie plate, which transfers heat more directly to the bottom pastry. Bake at the full 200°C (400°F), since a lower temperature will not crisp the base before the filling is done. For a deeper look at why cold fat produces flaky layers and how that connects to crust texture, “how cold fat creates flaky pastry” is worth reading.
Can I make chicken pot pie ahead and refrigerate it unbaked?
Yes. Assemble the full pie and refrigerate it unbaked for up to 24 hours, covered with plastic wrap. Add 5-10 minutes to the bake time since it starts cold. Alternatively, store the filling and dough separately in the fridge for up to 2 days and assemble just before baking.
Do the vegetables need to be pre-cooked before going into the pie?
Yes, the onion, celery, and carrots need to soften in the pot first. They will not cook through during the 40-45 minutes sealed inside the crust. The peas are the exception: add them frozen at Step 6 and they heat through perfectly during baking.
Can I use puff pastry for a chicken pot pie instead of homemade crust?
Yes, particularly for the top. Drape a thawed sheet of puff pastry over the filled pie dish, trim the overhang to about 2cm, and press the edges to seal. It bakes faster than a standard pie crust, so start checking for color at the 30-minute mark. Using puff pastry on the bottom as well is possible, but it puffs significantly and can make clean portioning harder.
How do I know when it is fully done baking?
Look for two things: the crust should be a deep, even golden brown across the full surface (not just pale gold), and the filling should be visibly bubbling through the steam vents or around the crust edges. If the top looks golden but nothing is bubbling, give it another 5-10 minutes.
Can I freeze a baked chicken pot pie?
Yes. Cool it completely, then wrap tightly in plastic wrap and then foil. Freeze for up to 2 months. Reheat individual slices from frozen at 175°C (350°F) for 25-30 minutes, or the full pie for 50-60 minutes. The crust will not be quite as crisp as when it came fresh from the oven, but the flavor holds well.
Conclusion
A well-made chicken pot pie does not require many techniques, but it does need a few done correctly: a roux cooked long enough to lose its raw taste, cold butter worked quickly into the dough, and enough bake time to get genuinely golden rather than pale. The single most effective thing you can do for the bottom crust texture is let the filling cool before it goes in. That step gets skipped more often than any other. The filling made a day ahead usually improves as the flavors settle, so if you are planning this for a weeknight dinner, make the filling on Sunday.
Chicken Pot Pie: Recipe Card
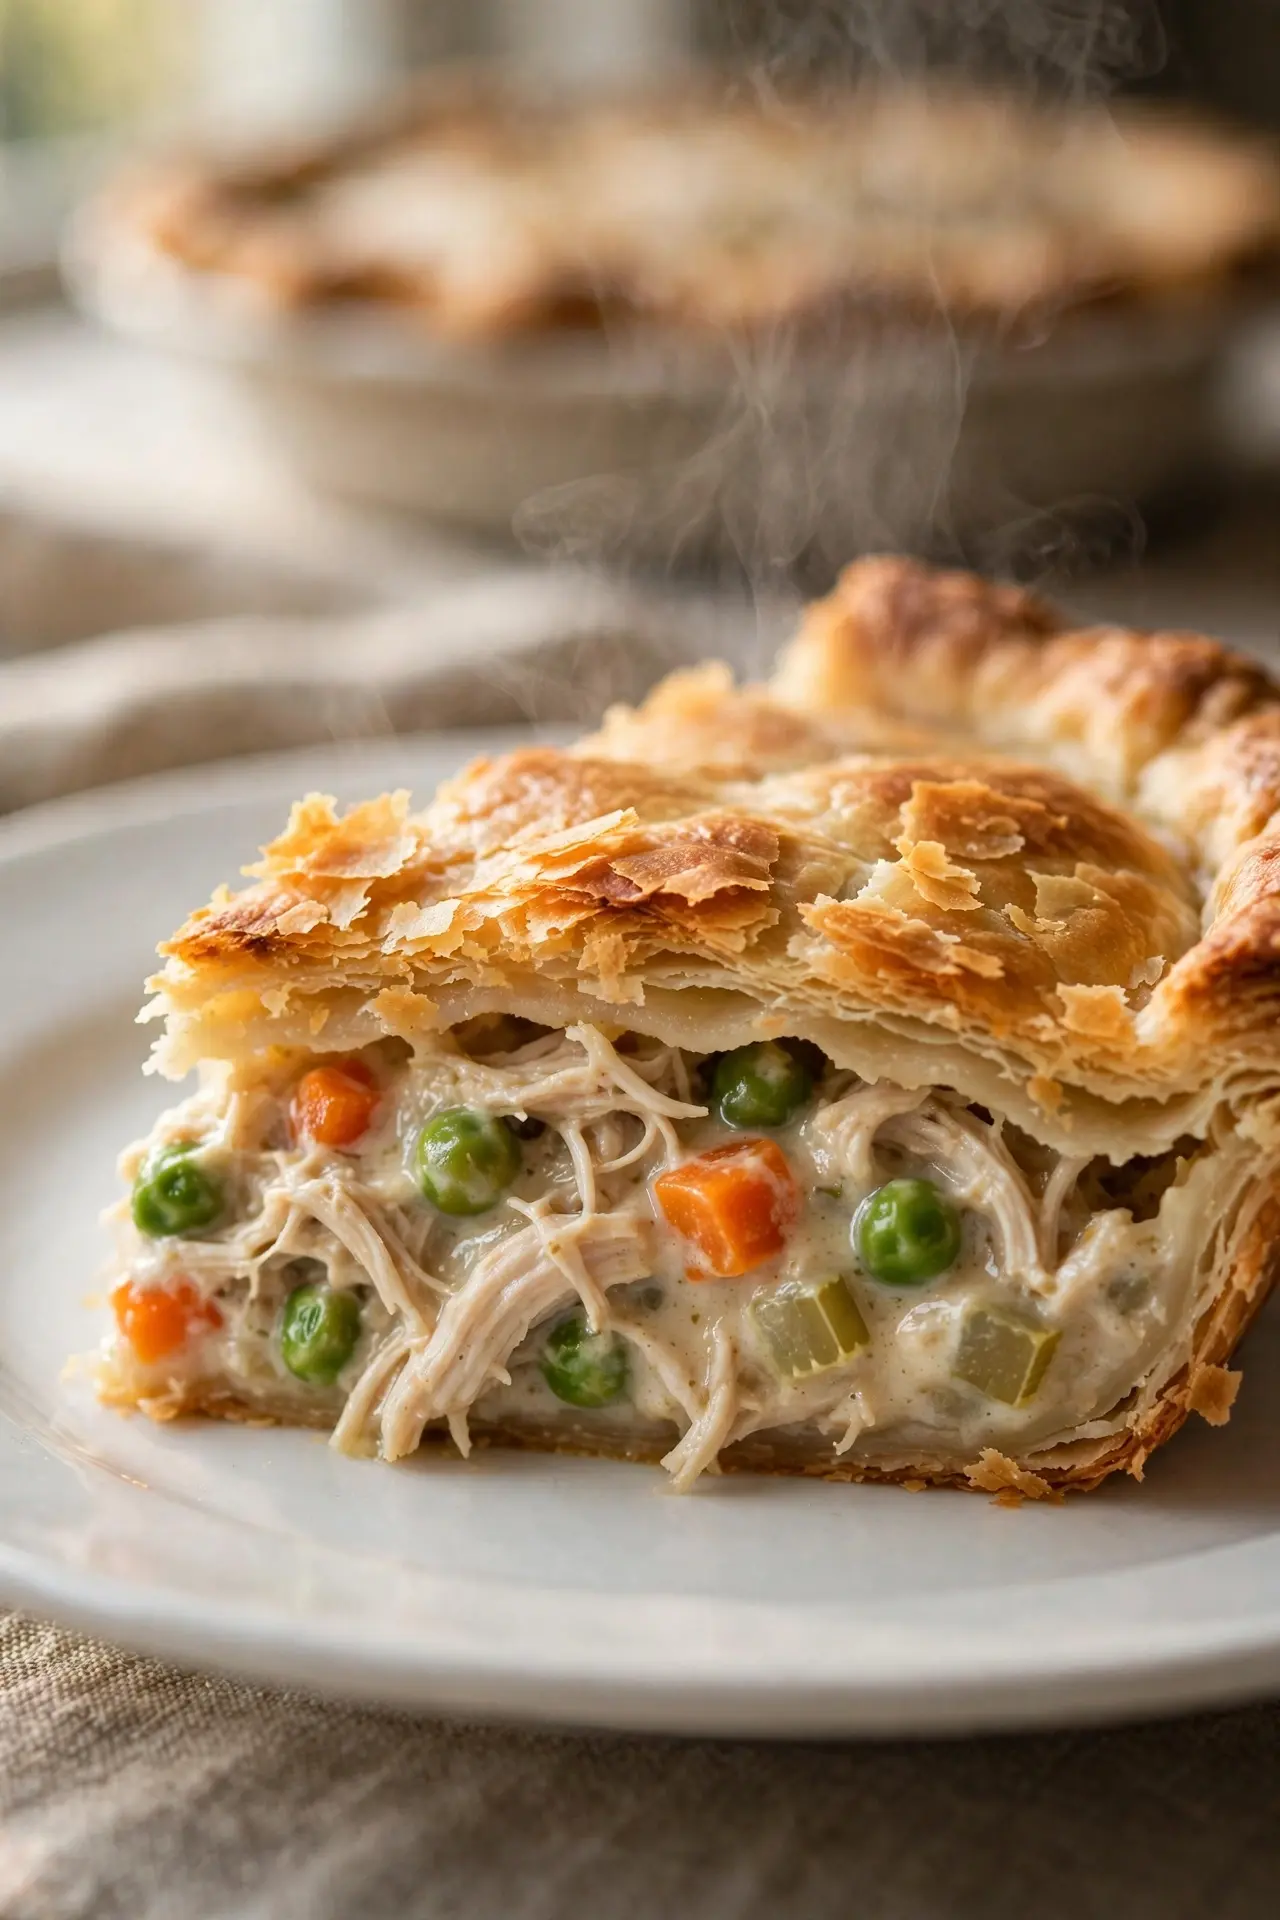
Chicken Pot Pie with a Buttery Flaky Crust
Ingredients
Method
- Combine flour, salt, and sugar in a large bowl. Add cold butter cubes and press into the flour with your fingertips until the mixture looks like rough crumbs with some pea-sized butter pieces. Add ice water one tablespoon at a time, mixing with a fork, until the dough just comes together when pressed.
- Divide dough into two flat disks, wrap each in plastic wrap, and refrigerate for at least 30 minutes.
- Melt 4 tbsp butter in a large pot over medium heat. Add onion, celery, and carrots. Cook 6-8 minutes until softened. Add garlic and cook 1 minute.
- Sprinkle flour over the vegetables and stir constantly for 2 full minutes until the raw flour smell is gone.
- Pour in chicken broth in a slow stream while whisking. Add cream. Simmer 3-4 minutes, stirring, until the filling thickens to coat the back of a spoon. Add thyme, rosemary, salt, and pepper.
- Stir in chicken and frozen peas. Taste and adjust seasoning. Cool for at least 10-15 minutes.
- Preheat oven to 200°C (400°F). Roll one dough disk into a 30cm circle and line a 23cm deep-dish pie plate, letting excess hang over the edge.
- Pour cooled filling into the crust. Roll the second disk into a 30cm circle and lay over the filling. Fold and crimp the edges to seal. Cut 4-5 steam vents. Brush the full surface with egg wash.
- Place pie on a rimmed baking sheet. Bake 40-45 minutes until the crust is deep golden brown and the filling is bubbling through the vents. Cover crust edges with foil if they darken early.
- Rest on a wire rack for 10 minutes before cutting.