Teriyaki Chicken: Sticky Soy Glaze in 30 Minutes
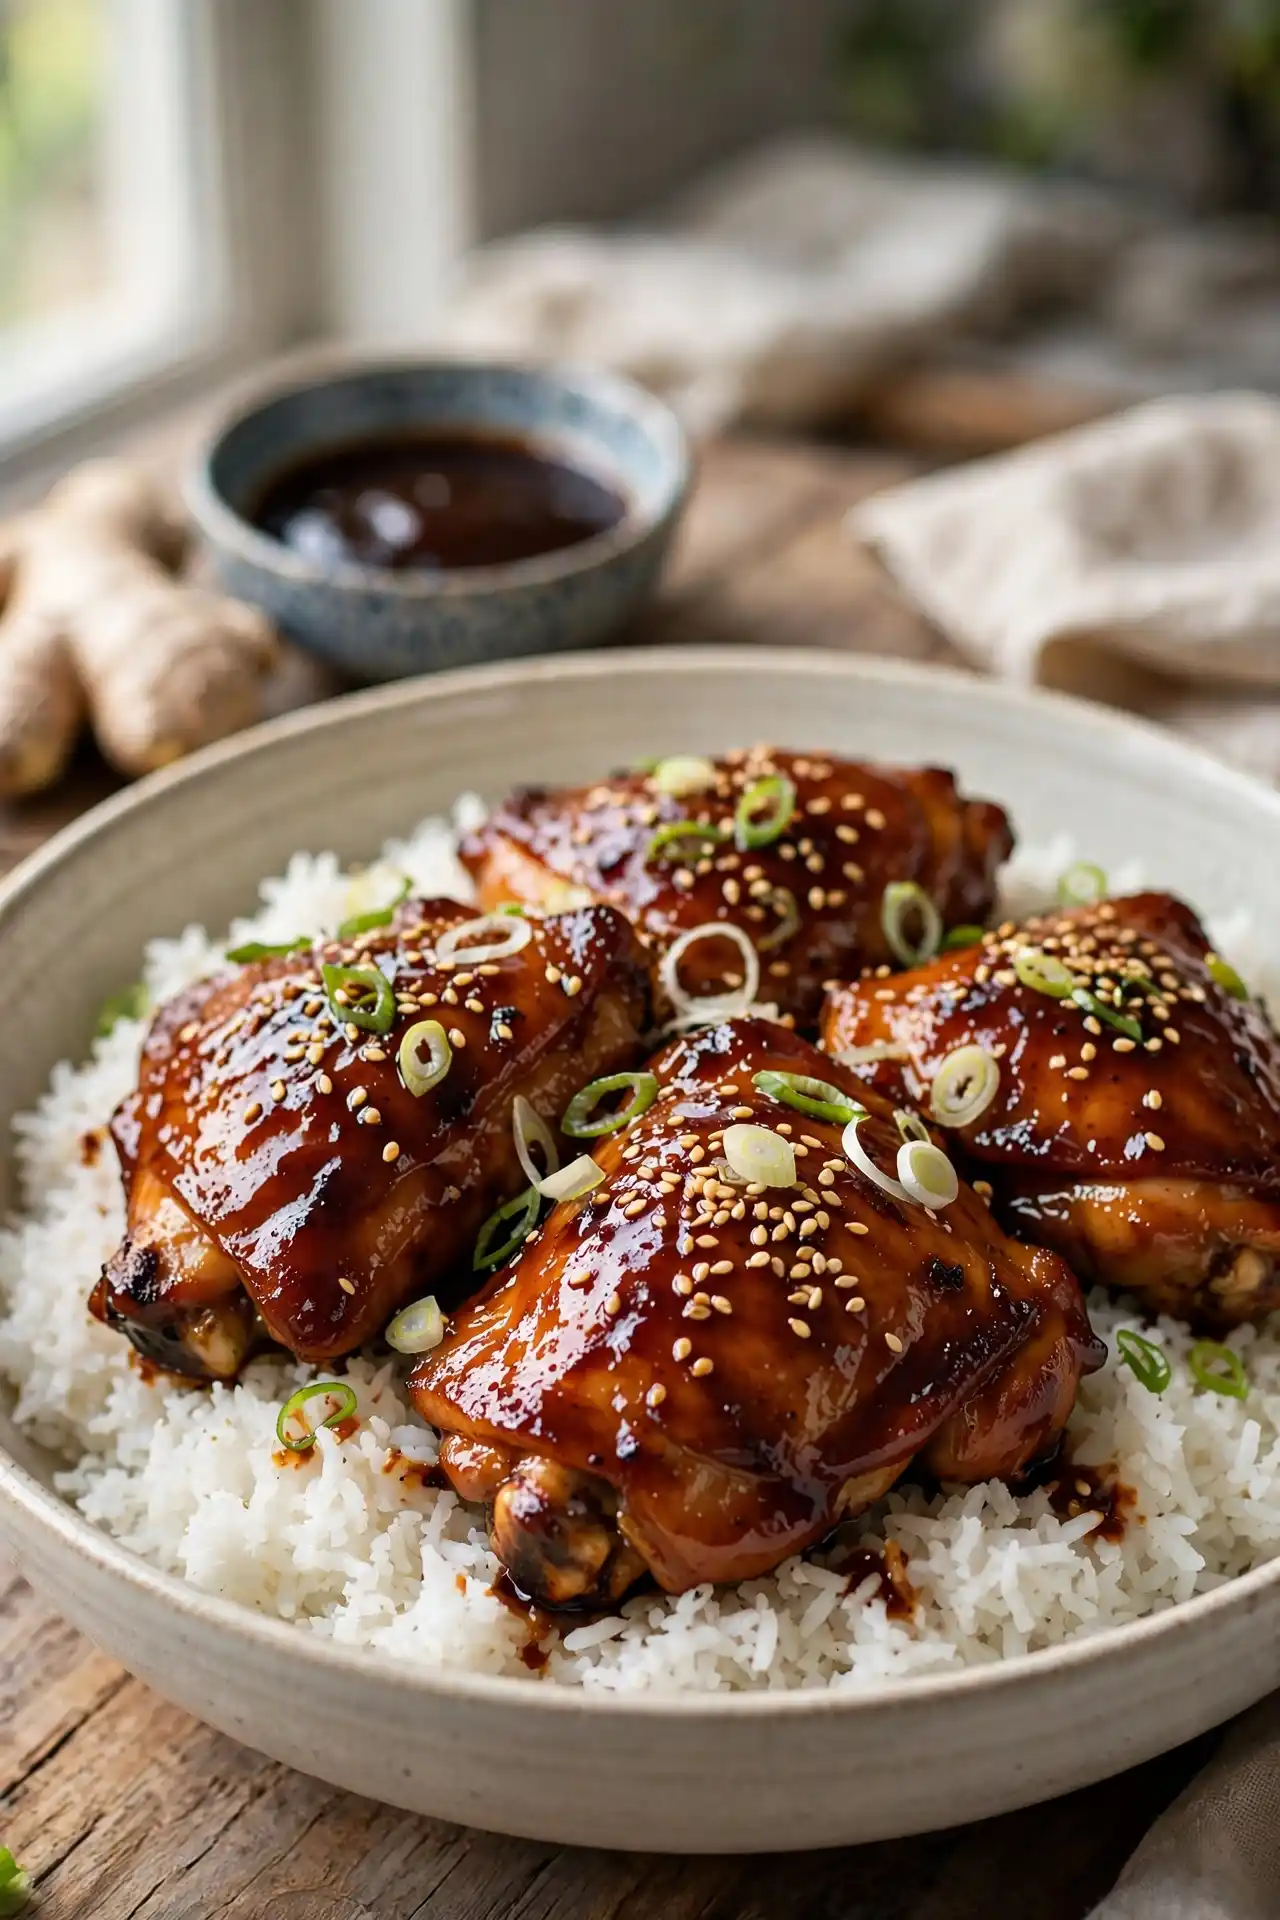
Teriyaki chicken is one of those dishes that most people have eaten from a takeout container but rarely make at home. The version here is different from what comes in the box. The sauce reduces directly in the pan after the chicken is seared, picking up every browned bit from the meat and thickening into a proper glaze rather than a thin, sweet liquid.
The first time I made this, I expected it to taste like a slightly better version of takeout. It didn’t. The pan-reduced glaze has a depth that bottled sauce can’t replicate, mostly because of the fond that builds on the skillet surface during searing. That single detail is what most home versions skip.
This recipe uses chicken thighs, a cornstarch slurry to manage sauce consistency, and a sauce base you can prep up to five days ahead. Start to finish: 30 minutes.
Why You’ll Love This Teriyaki Chicken
- The glaze builds and thickens in the same pan as the chicken, so there’s no extra pot to wash
- Chicken thighs stay juicy through high-heat searing and glazing, even if you go a minute or two over
- The sauce is four pantry staples once you have mirin and soy sauce stocked
- Halal-friendly substitutes for mirin and sake are listed right at the ingredient, not buried at the end
- Ready in 30 minutes, and the sauce keeps in the fridge for five days
Ingredients You’ll Need
For the Chicken
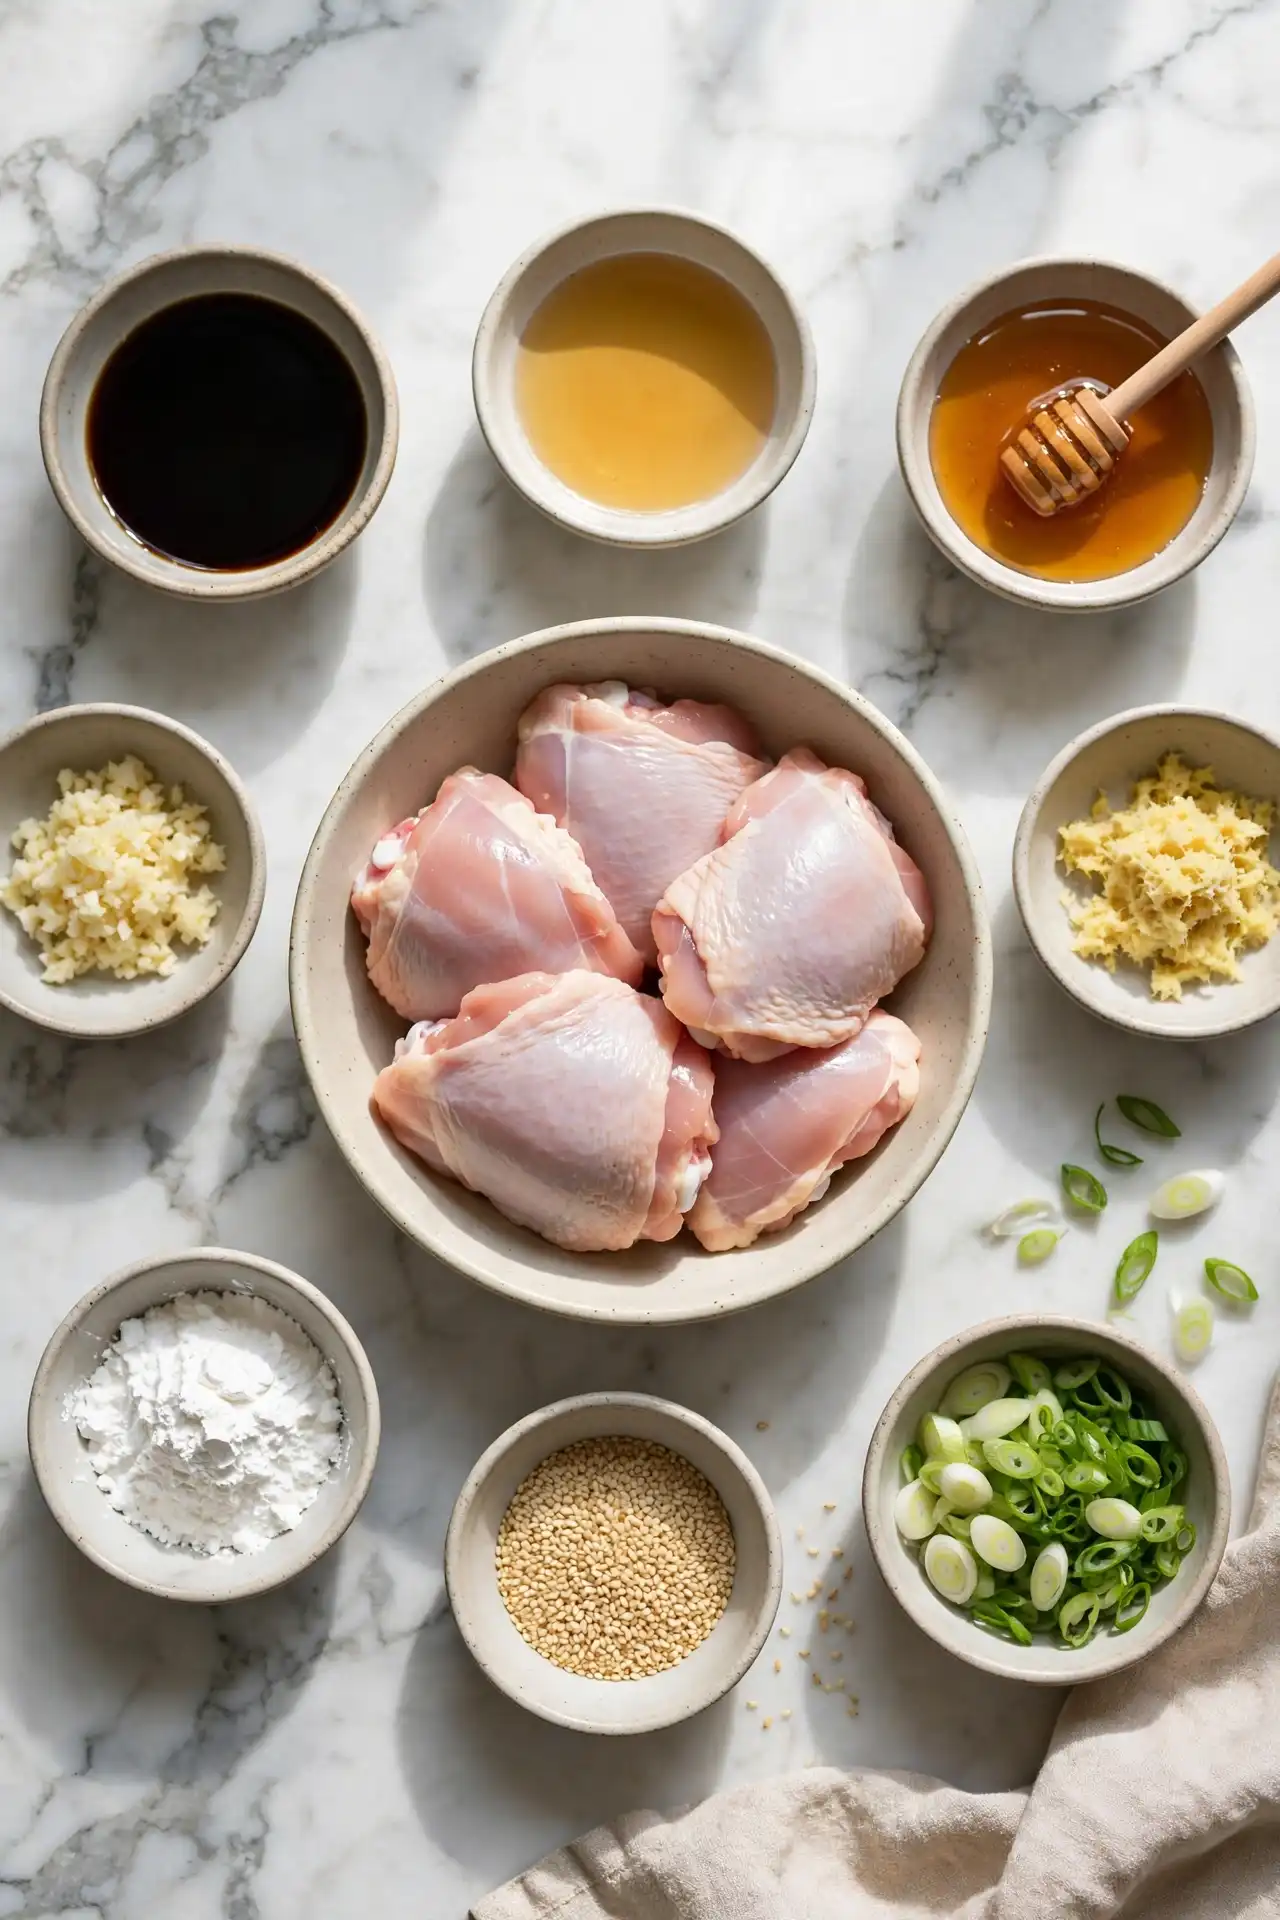
- 700g (1.5 lb) boneless, skinless chicken thighs
- 1 tbsp neutral oil (vegetable or sunflower)
- ½ tsp fine salt
- ¼ tsp white pepper
For the Teriyaki Sauce
- 60ml (¼ cup) soy sauce — use low-sodium if you’re sensitive to salt; the glaze concentrates as it reduces
- 60ml (¼ cup) mirin — a sweet Japanese rice wine; substitute with apple juice plus 1 tsp rice vinegar for a non-alcoholic version
- 2 tbsp sake — substitute with water plus ½ tsp rice vinegar, or use low-sodium chicken broth
- 2 tbsp honey (or brown sugar)
- 1 tsp fresh ginger, finely grated — freshly grated gives sharper, cleaner heat than ground
- 2 cloves garlic, minced
- 1 tsp cornstarch mixed with 1 tbsp cold water — the slurry gives the glaze a glossy, clingy finish without making it gummy
For Serving
- Steamed jasmine or short-grain rice
- 1 tbsp toasted sesame seeds
- 2 spring onions (scallions), thinly sliced
Recipe Timing
| Timing Element | Duration |
|---|---|
| Prep Time | 10 minutes |
| Cook Time | 20 minutes |
| Optional Marinate Time | 20 minutes |
| Total Time | 30 minutes (50 minutes with marinade) |
Servings: 4 | Difficulty: Easy | Cuisine: Japanese | Course: Main Course
How to Make Teriyaki Chicken: Step by Step
Step 1: Mix the sauce
Whisk the soy sauce, mirin (or apple juice substitute), sake (or water substitute), honey, grated ginger, and minced garlic together in a small bowl until the honey fully dissolves. Set aside.
Why this works: Mixing the sauce before the pan goes on heat means you’re not rushing to measure while the chicken sears. Honey also dissolves more easily into room-temperature liquid than into a hot, active pan.
Step 2: Dry and season the chicken
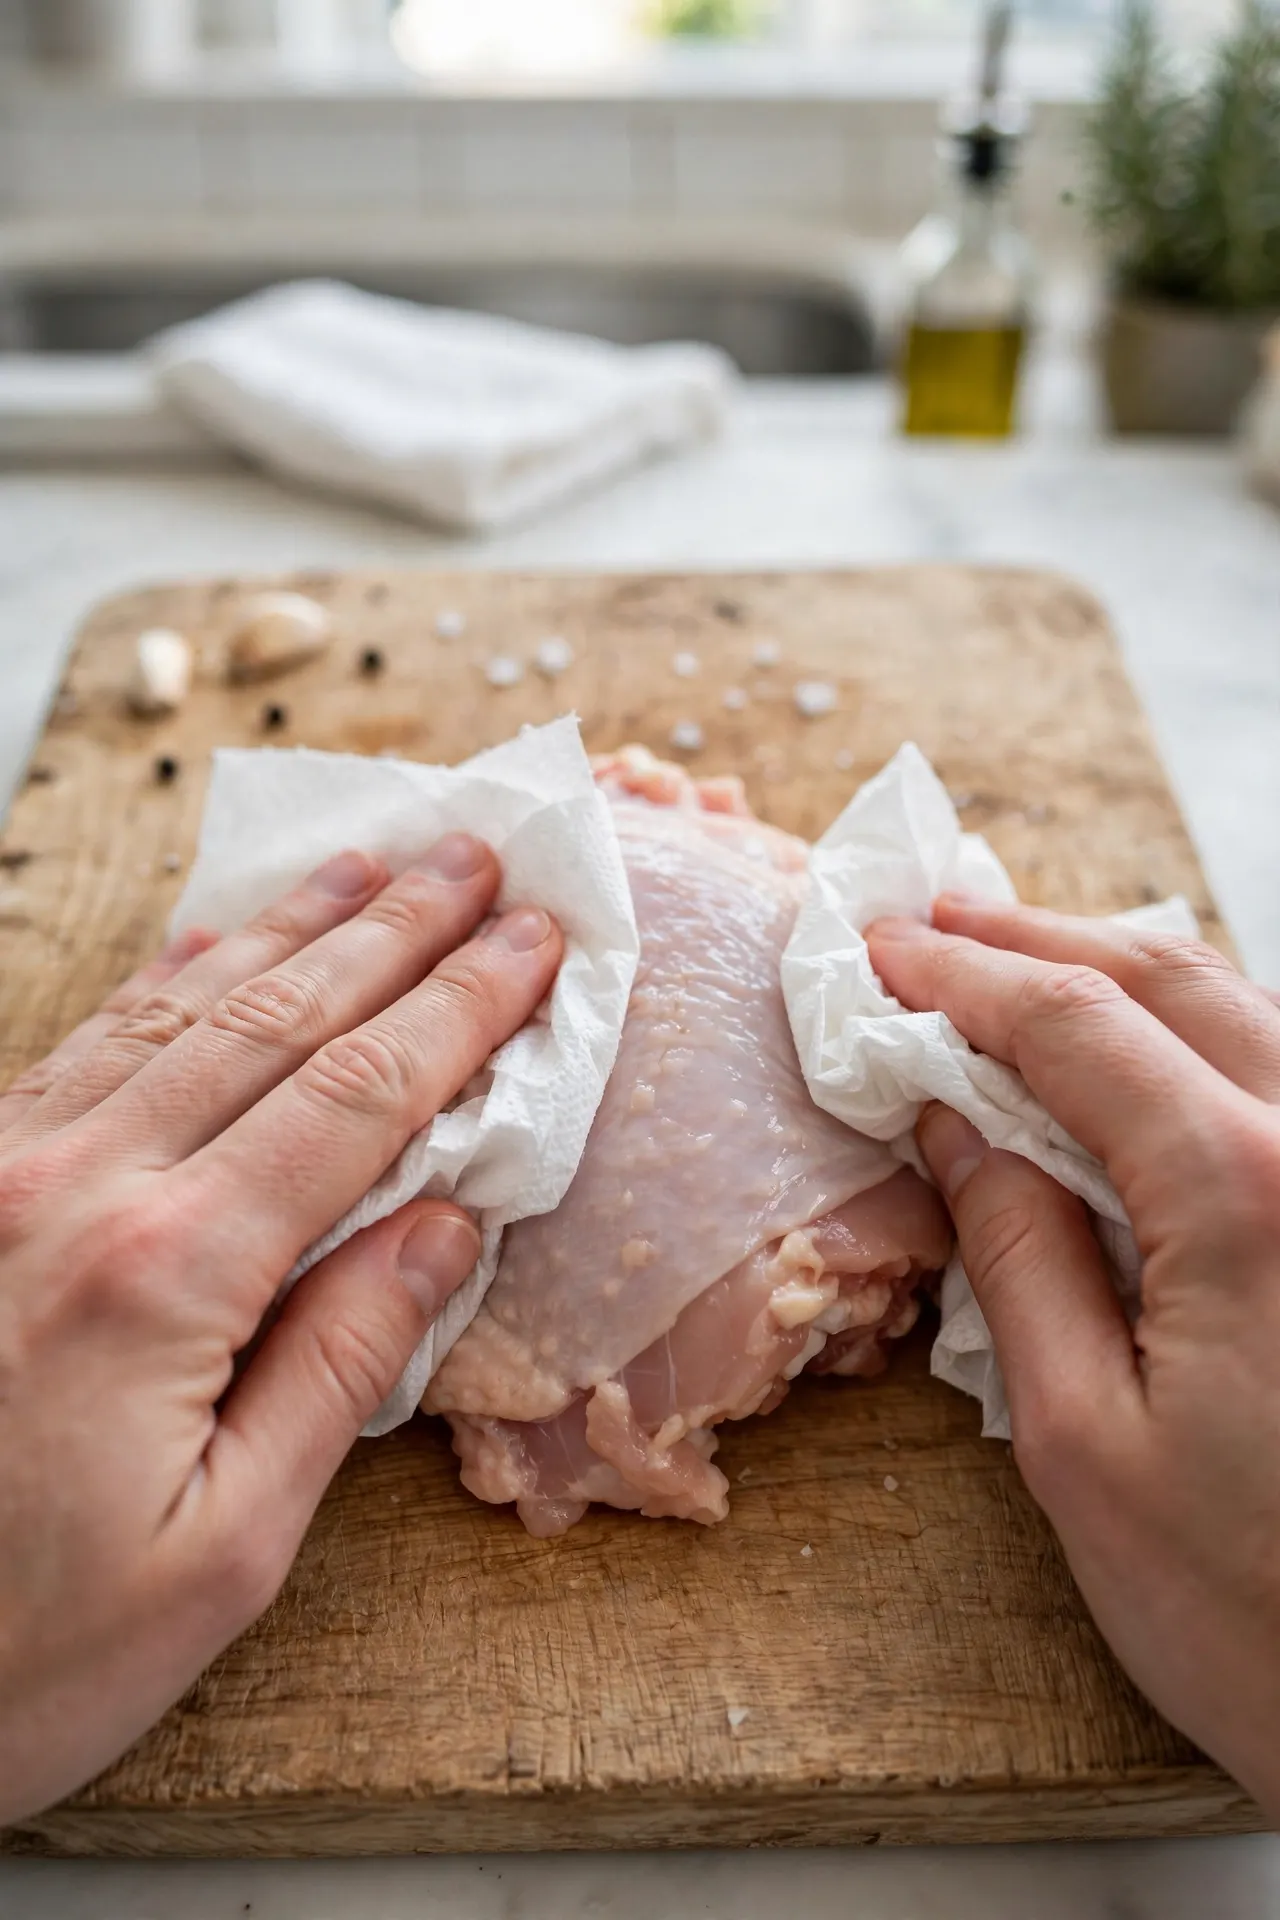
Pat the chicken thighs completely dry on both sides with paper towels. Season with salt and white pepper.
Why this works: Moisture on the surface of the meat creates steam when it hits hot oil, which prevents direct contact between the chicken and the pan. Dry meat caramelizes. Wet meat stews.
⚠️ Food Safety: Handle raw chicken on a clean, separate surface. Wash hands thoroughly with soap and warm water immediately after handling.
Step 3: Sear the chicken
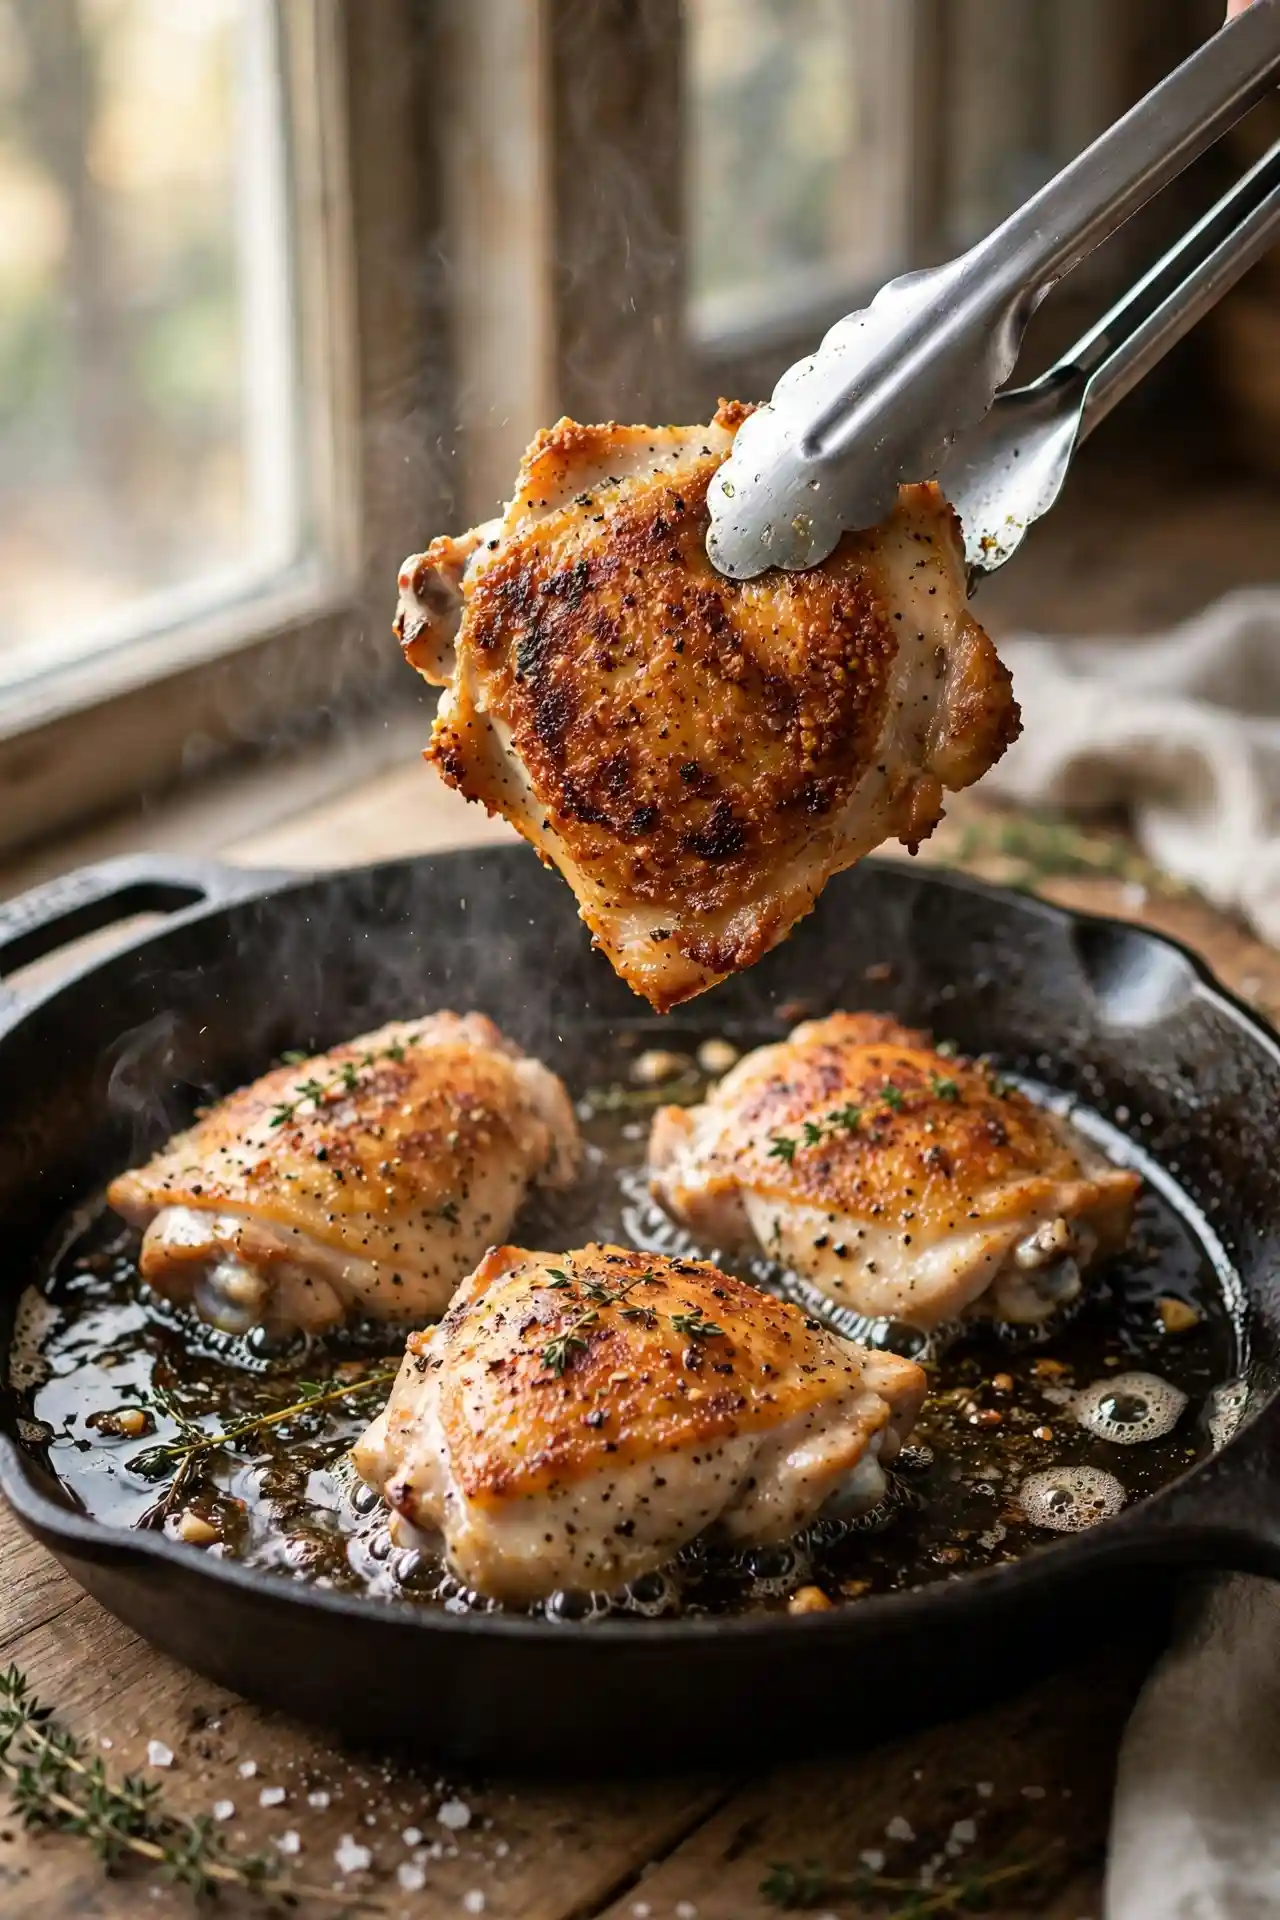
Heat the neutral oil in a large non-stick or cast-iron skillet over medium-high heat until the oil shimmers. Add the chicken thighs smooth side down. Cook for 5 to 6 minutes without moving them until the underside is deep golden brown and releases easily from the pan.
Step 4: Flip and cook through
Flip each thigh and cook for another 4 to 5 minutes. The chicken is done when a meat thermometer inserted at the thickest point reads 75°C (165°F) and the juices run clear.
⚠️ Food Safety: Never rely on color alone to judge doneness. Always confirm the internal temperature with a thermometer at the thickest part of the meat. Per FDA safe minimum internal temperature guidelines, poultry must reach 74°C (165°F) throughout.
Step 5: Build the glaze
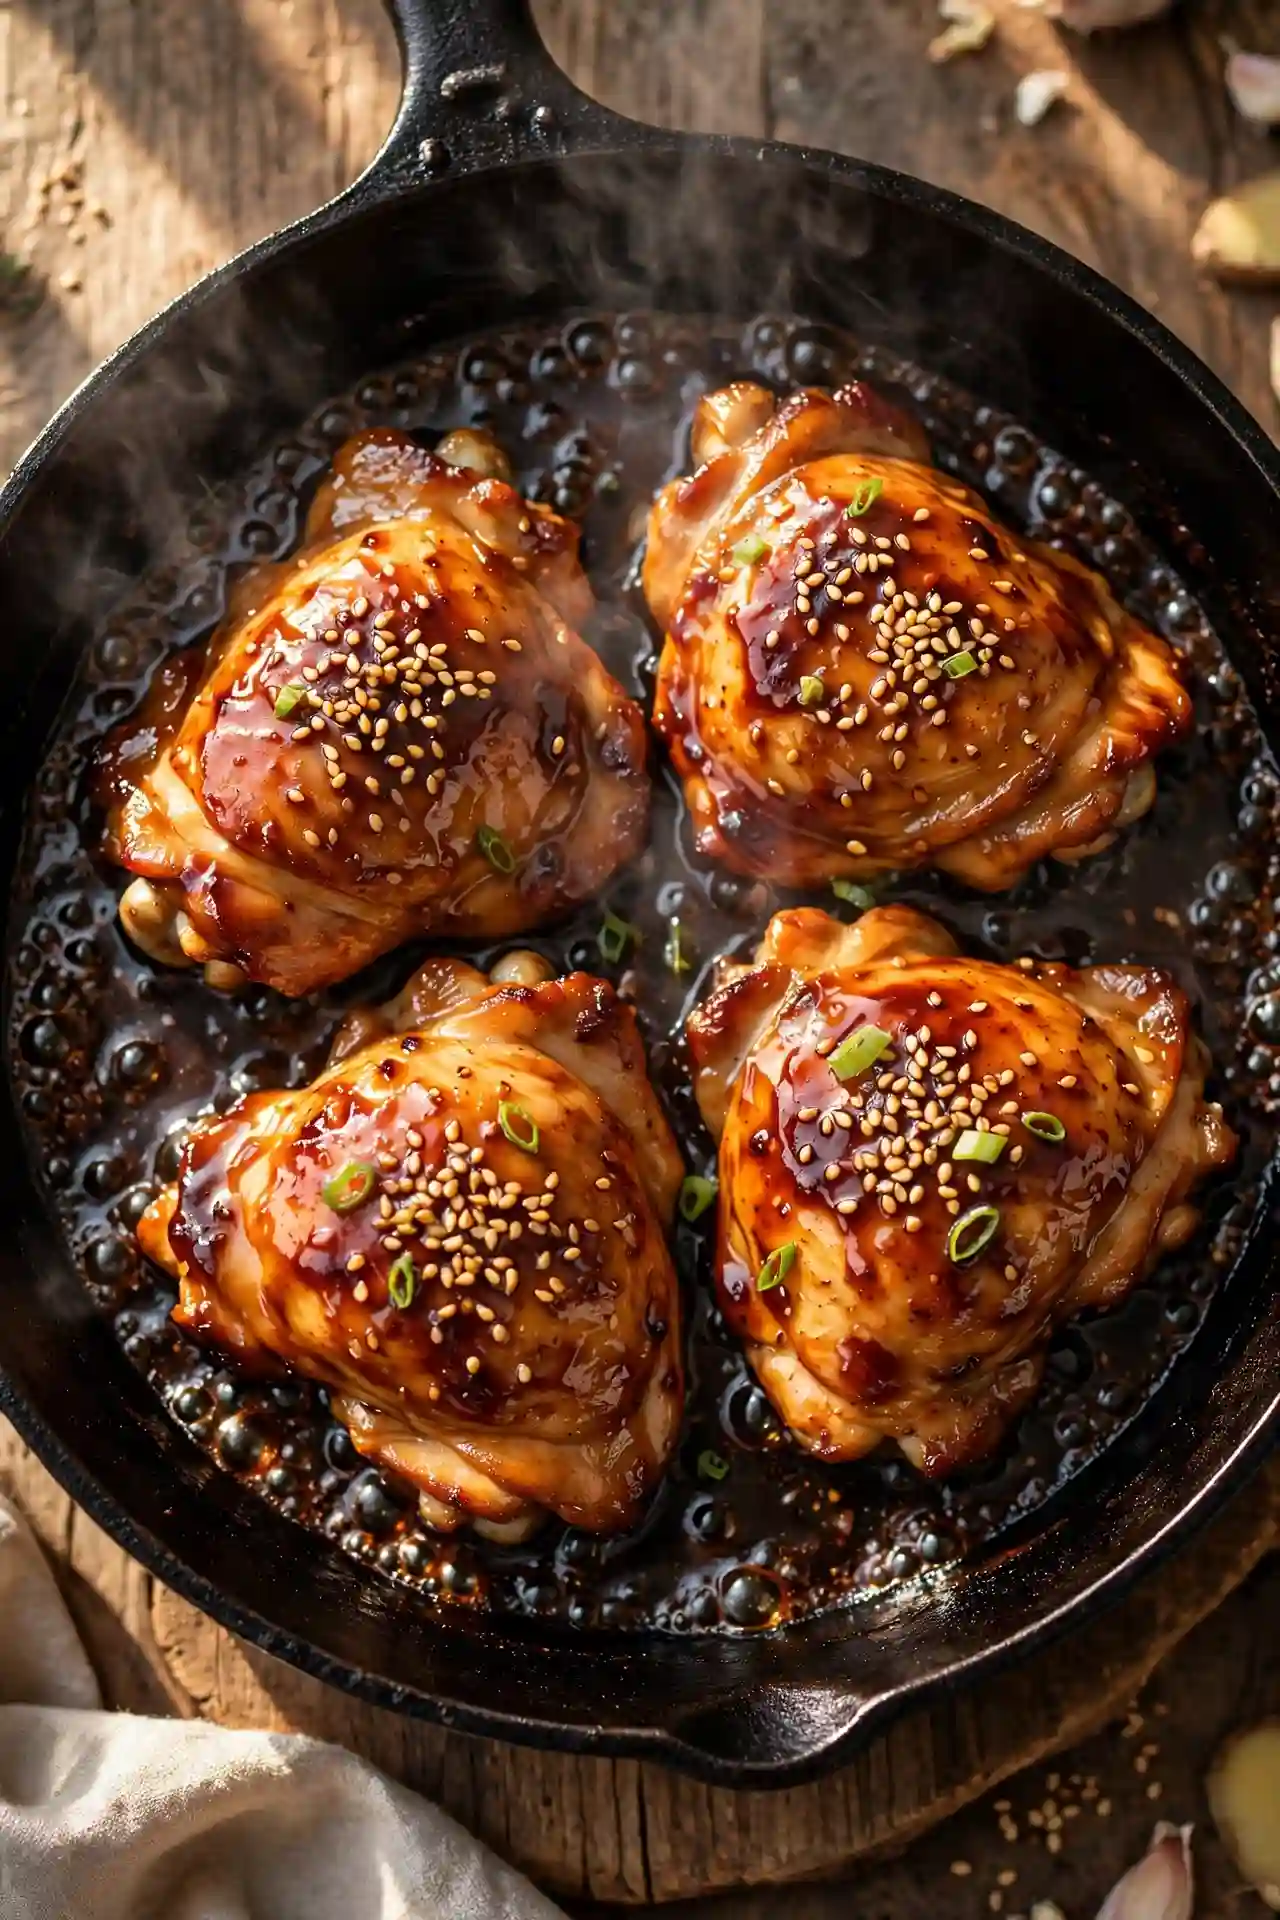
Transfer the cooked chicken to a plate. Reduce heat to medium-low. Pour the teriyaki sauce into the same pan and scrape up the browned bits from the bottom with a wooden spoon. Let the sauce simmer for 2 to 3 minutes, stirring occasionally, until it reduces slightly and coats the back of a spoon.
Why this works: The browned bits on the pan bottom, called fond, dissolve into the sauce and add a layer of savory depth that no bottled teriyaki sauce can replicate. This is what makes home-cooked teriyaki chicken taste fundamentally different from a jar.
Step 6: Thicken if needed
If the sauce is still thin after 3 minutes at a proper simmer, stir in the cornstarch slurry and cook for 30 to 60 seconds. The sauce will turn glossy and thick enough to coat the chicken without running off the meat.
Step 7: Glaze the chicken
Return the chicken thighs to the pan. Spoon sauce generously over each piece. Cook over low heat for 1 minute, turning once, until the glaze clings and begins to caramelize slightly on the surface.
Step 8: Rest, slice, and serve
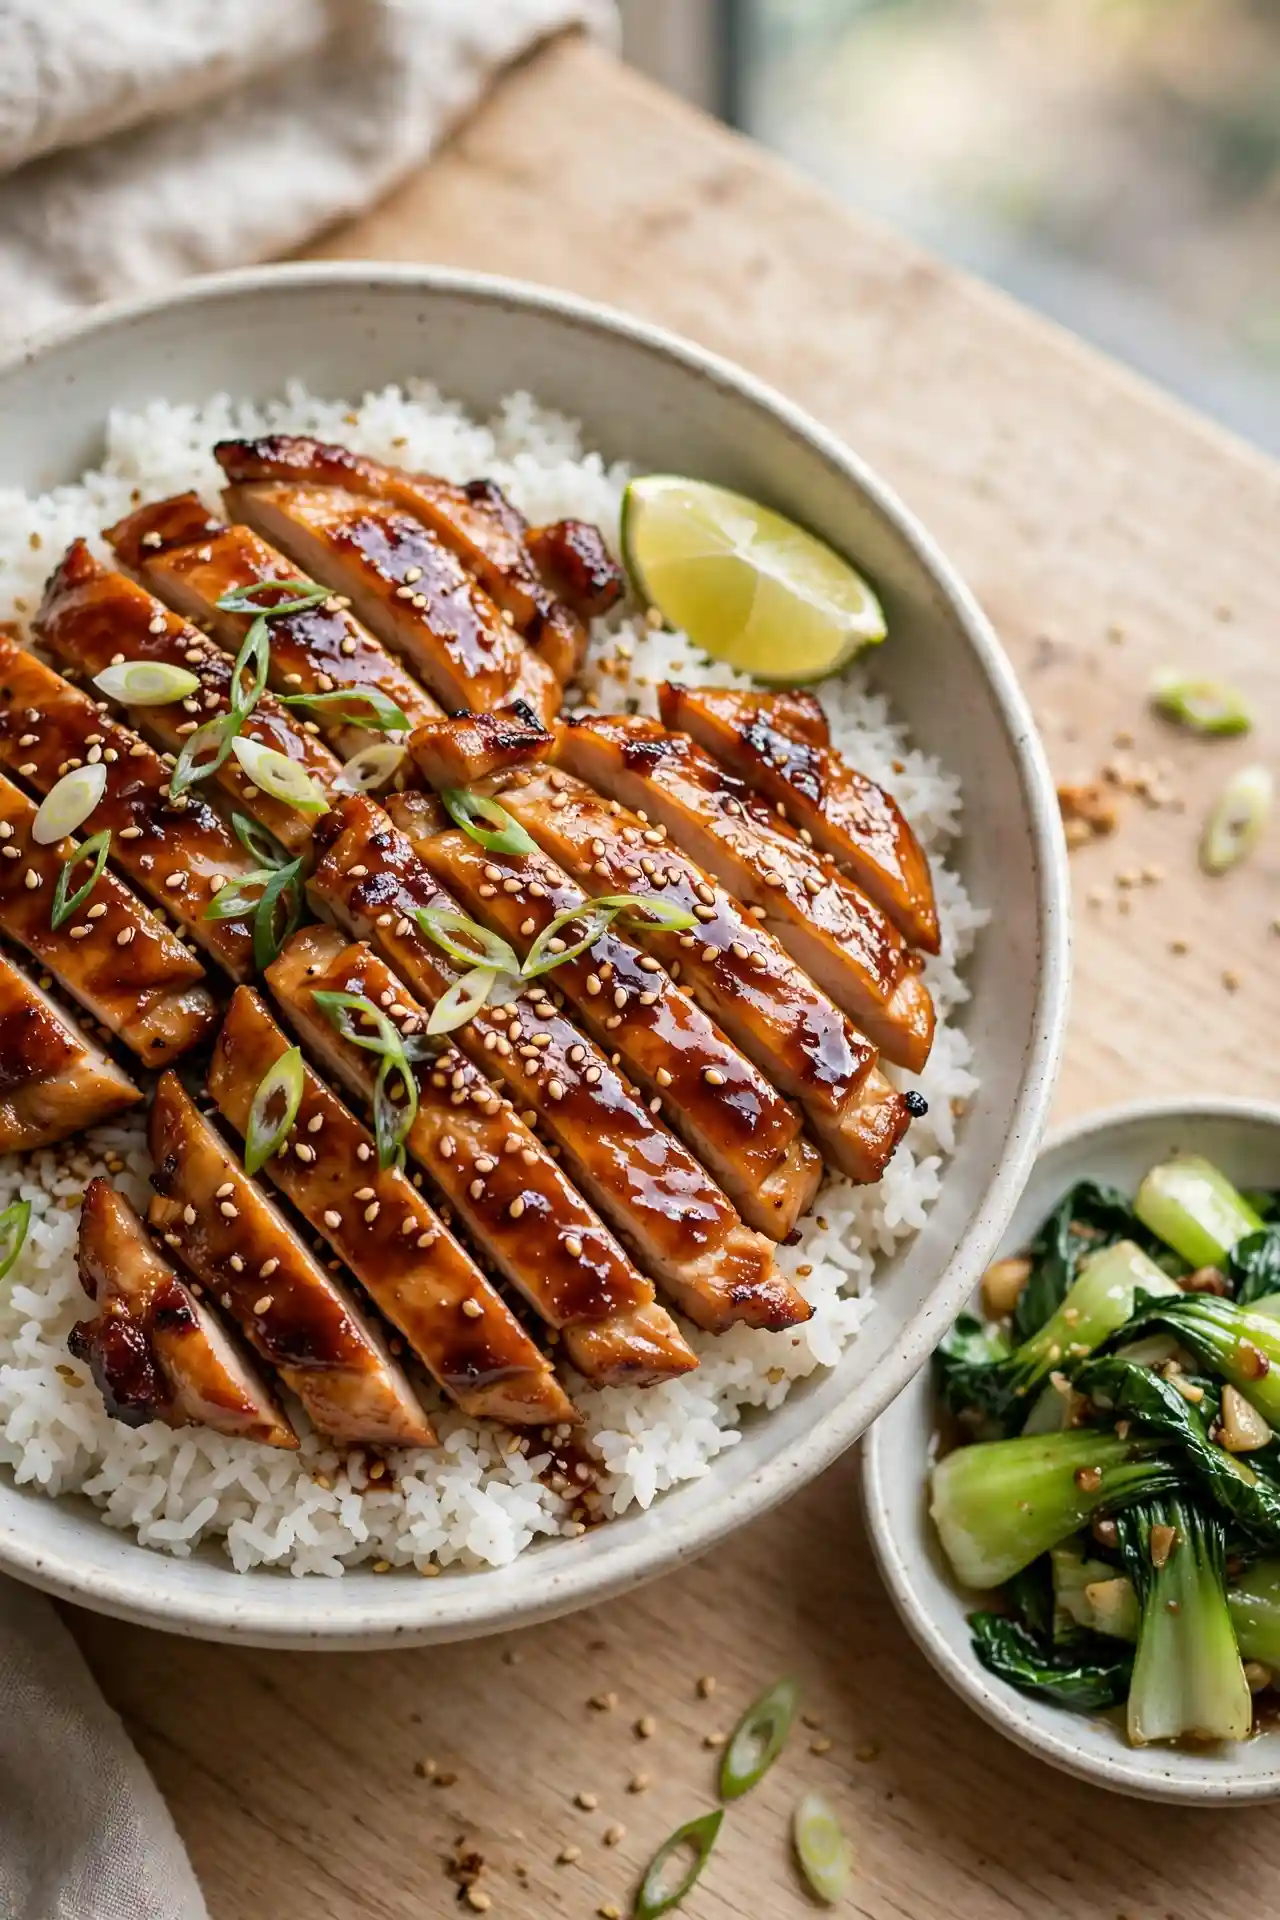
Remove the pan from heat and let the chicken rest for 3 minutes. Slice each thigh against the grain into strips or serve whole. Plate over steamed rice and top with toasted sesame seeds and sliced spring onions.
Common Mistakes to Avoid
Not drying the chicken. Wet meat stews instead of searing. The glaze needs a dry, already-cooked surface to cling to. Add sauce over undercooked chicken and you get braised meat with a pale surface, no crust, and no fond to dissolve into the sauce.
Using high heat when reducing the sauce. Honey and mirin both contain sugars that go from caramelized to burnt in about 30 seconds over high heat. Medium-low is the right setting. You want an active simmer, not a rapid boil.
Not tasting before adding extra salt. Soy sauce is already high in sodium, and that saltiness concentrates as the sauce reduces. Taste the glaze before it finishes. In most cases, no additional salt is needed at all.
Variations and Substitutions
Chicken breast instead of thighs. Breast works, but it’s less forgiving. Pound each piece to an even 2cm (about ¾ inch) thickness and reduce the cook time to 3 to 4 minutes per side. Pull it off heat the moment the thermometer reads 75°C (165°F). Even one minute over will make breast meat noticeably dry.
Honey vs. brown sugar. Both work at the same quantity. Honey gives the glaze slightly more complexity with faint floral notes. Brown sugar produces a deeper sweetness with a molasses edge. The final texture of the glaze is similar either way.
Sheet pan teriyaki chicken. Sear the thighs in an oven-safe skillet for 3 minutes per side, pour the sauce over the chicken, then transfer the pan to a 200°C (400°F) oven. Bake for 10 to 12 minutes, basting once at the halfway point. The edges caramelize in dry heat, which produces a slightly different but very good result, especially when cooking a larger batch.
What to Serve With Teriyaki Chicken
Steamed jasmine or short-grain rice. Short-grain rice clings to the glaze better than long-grain and makes the whole bowl feel cohesive.
Stir-fried bok choy. The mild bitterness cuts through the sweetness of the glaze without competing with it.
Japanese cucumber salad. Thinly sliced cucumber tossed with rice vinegar, a pinch of sugar, and a few drops of sesame oil. Takes three minutes and balances the richness of the chicken.
Edamame. No preparation beyond heating. Adds color and a clean, vegetable counterpoint to the sauced meat.
Miso soup. A simple dashi-based broth rounds out the meal without competing with the main dish.
Storage, Reheating, and Make-Ahead
Fridge: Store leftover teriyaki chicken in an airtight container for up to 3 days. Keep the rice stored separately to prevent it from absorbing moisture from the glaze.
Freezer: Freeze cooked, glazed chicken (without rice) in a zip-lock bag or airtight container for up to 2 months. Lay bags flat for easier stacking. Thaw overnight in the fridge before reheating.
Reheat: Warm the chicken in a skillet over medium-low heat with 1 tablespoon of water to loosen the glaze. Cover with a lid and heat for 2 to 3 minutes until warmed through. The microwave works but tends to toughen the meat and make the sauce uneven.
Make-ahead: The teriyaki sauce keeps in a sealed jar in the fridge for up to 5 days. The raw chicken can marinate in half the sauce for up to 4 hours before cooking. Beyond 4 hours, the salt in the soy sauce draws moisture out of the meat and affects the texture.
Allergen Information
This teriyaki chicken recipe contains soy (soy sauce) and sesame (sesame seeds).
To make this soy-free, substitute coconut aminos at the same quantity as the soy sauce. The flavor is slightly sweeter and less salty, so taste and adjust the honey as needed.
To make this sesame-free, leave out the sesame seeds entirely. The glaze is unaffected. Per FDA food allergen guidelines, sesame is among the nine major food allergens recognized in the United States.
Nutrition Information
Per serving, based on 4 servings. Includes chicken and sauce. Rice not included.
| Nutrient | Per Serving |
|---|---|
| Calories | 310 kcal |
| Protein | 33g |
| Total Carbohydrates | 14g |
| Dietary Fiber | 0.3g |
| Total Sugars | 11g |
| Total Fat | 12g |
| Saturated Fat | 2.5g |
| Sodium | 820mg |
| Cholesterol | 140mg |
| Potassium | 430mg |
| Iron | 1.8mg |
Nutritional values are estimates only and may vary based on specific ingredients, brands, and portion sizes used. For precise dietary needs, consult a registered dietitian.
Frequently Asked Questions
Can I make teriyaki chicken without sake or mirin?
Yes. Replace sake with water plus ½ teaspoon of rice vinegar. Replace mirin with apple juice plus 1 teaspoon of rice vinegar. Both substitutes work at the same quantities listed. The glaze will be slightly less layered in flavor but still very good.
Should I use chicken thighs or breast?
Thighs are the better choice for teriyaki chicken. They have more fat running through the meat, which keeps them juicy through high-heat searing and glazing. Chicken breast works but dries out quickly if taken even slightly past the right temperature. If you prefer breast, pound it to an even thickness before you start.
Why is my teriyaki sauce not thickening?
Two common causes: the heat may be too low, meaning the sauce is warming rather than actually simmering. Or the pan may have too much liquid from the chicken juices. If it hasn’t thickened after 4 minutes at a proper simmer, add the cornstarch slurry and stir for 60 seconds. That will set it reliably.
How long should I marinate the chicken?
Between 20 minutes and 4 hours, depending on how much time you have. Beyond 4 hours, the salt in the soy sauce draws moisture out of the meat and can make the texture slightly spongy. A 20-minute marinate at room temperature is enough to make a noticeable difference.
Can I make teriyaki chicken ahead of time?
The sauce keeps for 5 days in the fridge. Cooked chicken keeps for 3 days. For the best result, cook the chicken fresh on the day using the pre-made sauce, which brings active cooking time under 25 minutes. Reheated teriyaki chicken is good, but the glaze won’t be quite as glossy.
Why does my teriyaki sauce taste too salty?
Standard soy sauce is high in sodium, and the saltiness concentrates as the sauce reduces. Switch to low-sodium soy sauce and taste the glaze before it finishes thickening. It’s much easier to correct at that stage than after the sauce has set.
Can I bake teriyaki chicken instead of pan-frying it?
Yes. Sear the chicken in an oven-safe skillet for 3 minutes per side, pour the sauce over, and transfer the pan to a 200°C (400°F) oven. Bake for 10 to 12 minutes, basting once at the halfway point. The edges caramelize in dry heat and the result is very close to the stovetop version.
Teriyaki chicken gets its best result from two things: dry meat on a hot pan, and a sauce that reduces in the same skillet rather than coming from a bottle. Use thighs over breast, make the sauce fresh, and check the temperature. The single most useful thing to know before you start: taste the glaze before it fully reduces. Soy saltiness concentrates as liquid evaporates, and one taste at the beginning saves you from an oversalted result at the end.
Teriyaki Chicken Recipe Card
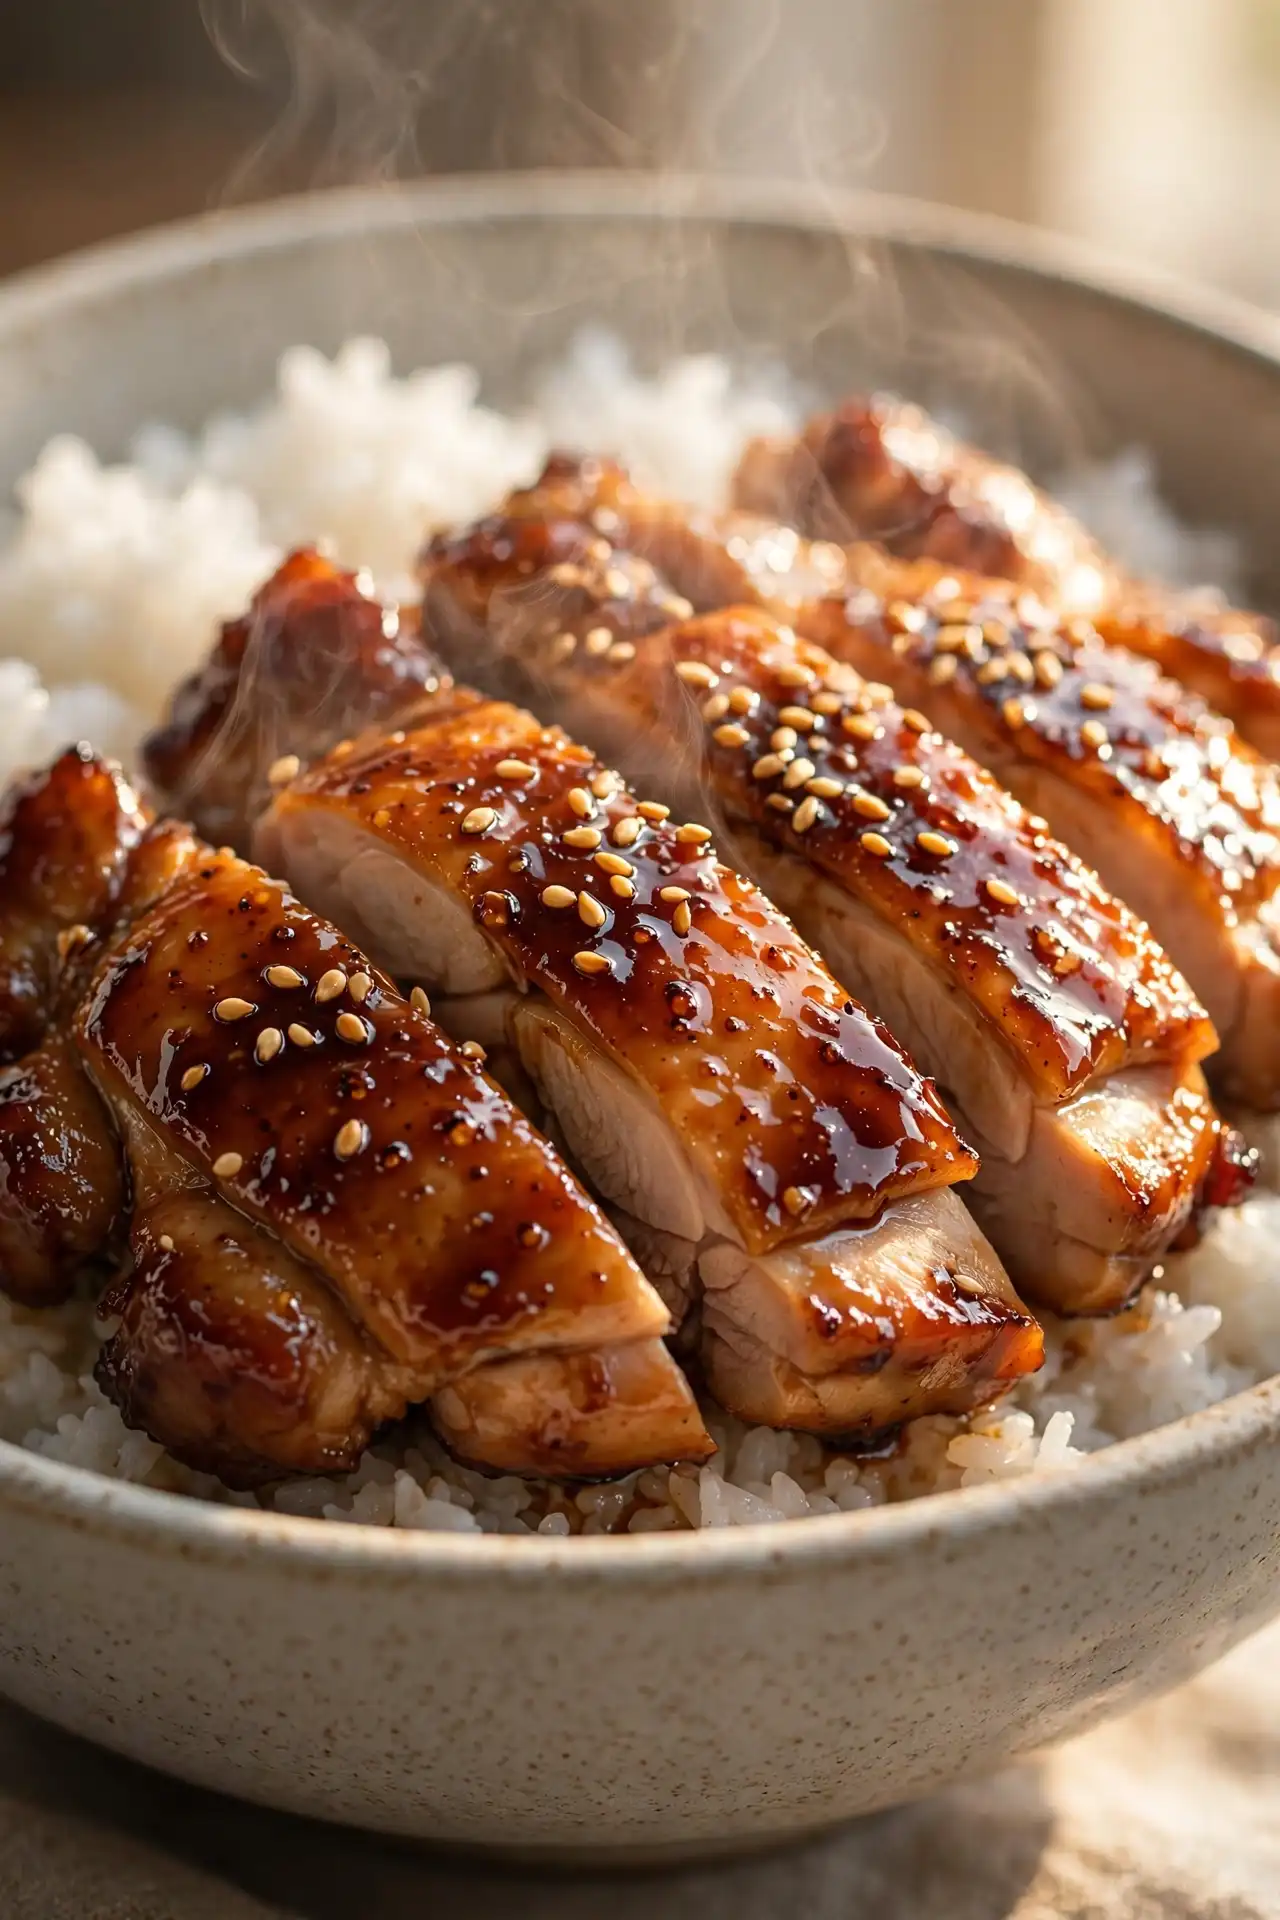
Teriyaki Chicken
Ingredients
Method
- Whisk soy sauce, mirin, sake, honey, grated ginger, and minced garlic together until honey fully dissolves. Set aside.
- Pat chicken thighs completely dry with paper towels. Season with salt and white pepper.
- Heat oil in a large skillet over medium-high heat until shimmering. Add chicken smooth side down. Cook 5 to 6 minutes without moving until deep golden brown.
- Flip and cook 4 to 5 more minutes until the internal temperature reaches 75°C (165°F). Transfer chicken to a plate.
- Reduce heat to medium-low. Pour sauce into the same pan and scrape up the browned bits. Simmer 2 to 3 minutes, stirring occasionally, until slightly reduced.
- If sauce is still thin, stir in the cornstarch slurry and cook 30 to 60 seconds until glossy and thick.
- Return chicken to the pan. Spoon sauce over each piece and cook 1 minute over low heat, turning once.
- Remove from heat. Rest 3 minutes. Slice or serve whole over steamed rice. Top with sesame seeds and spring onions.